
Screens, windows, and custom areas
Choose an entire display, one app window, or a resizable part of the screen as the capture source.
Updated August 10, 2026
On this page
Auto Capture can target a display, one app window, or a custom area. The selected source stays fixed unless the display configuration changes.
Action Capture offers Active Window, Full Screen, Specific Window, and Capture Area. Active Window follows the window used for each accepted click.
Capture the active window with Action Capture
Use Active Window in Action Capture when the task moves between apps or windows. Every accepted click saves the target state from the window used for that action.
Active Window does not require choosing a thumbnail. Keep unrelated or sensitive windows out of the task during the run.
For timed Auto Capture, choose one fixed source from Screens or Windows, or select Custom Area.
Capture a screen
Use Screens when the result should include an entire display.
- Open Auto Capture.
- Select the source button below the capture options.
- Open the Screens tab.
- Select the display thumbnail you want to capture.
- Select Start Capture.
This source can include several apps, the menu bar, and anything else visible on that display.
Capture a window
Use Windows to keep the capture limited to one app window.
- Open the source picker.
- Select the Windows tab.
- Choose the window thumbnail.
- Select Start Capture.
Before the run begins, Shotomatic tries to focus the selected window. Accessibility permission is required for automatic focusing. If focusing fails, click the target window manually when Shotomatic asks.
Capture a custom area
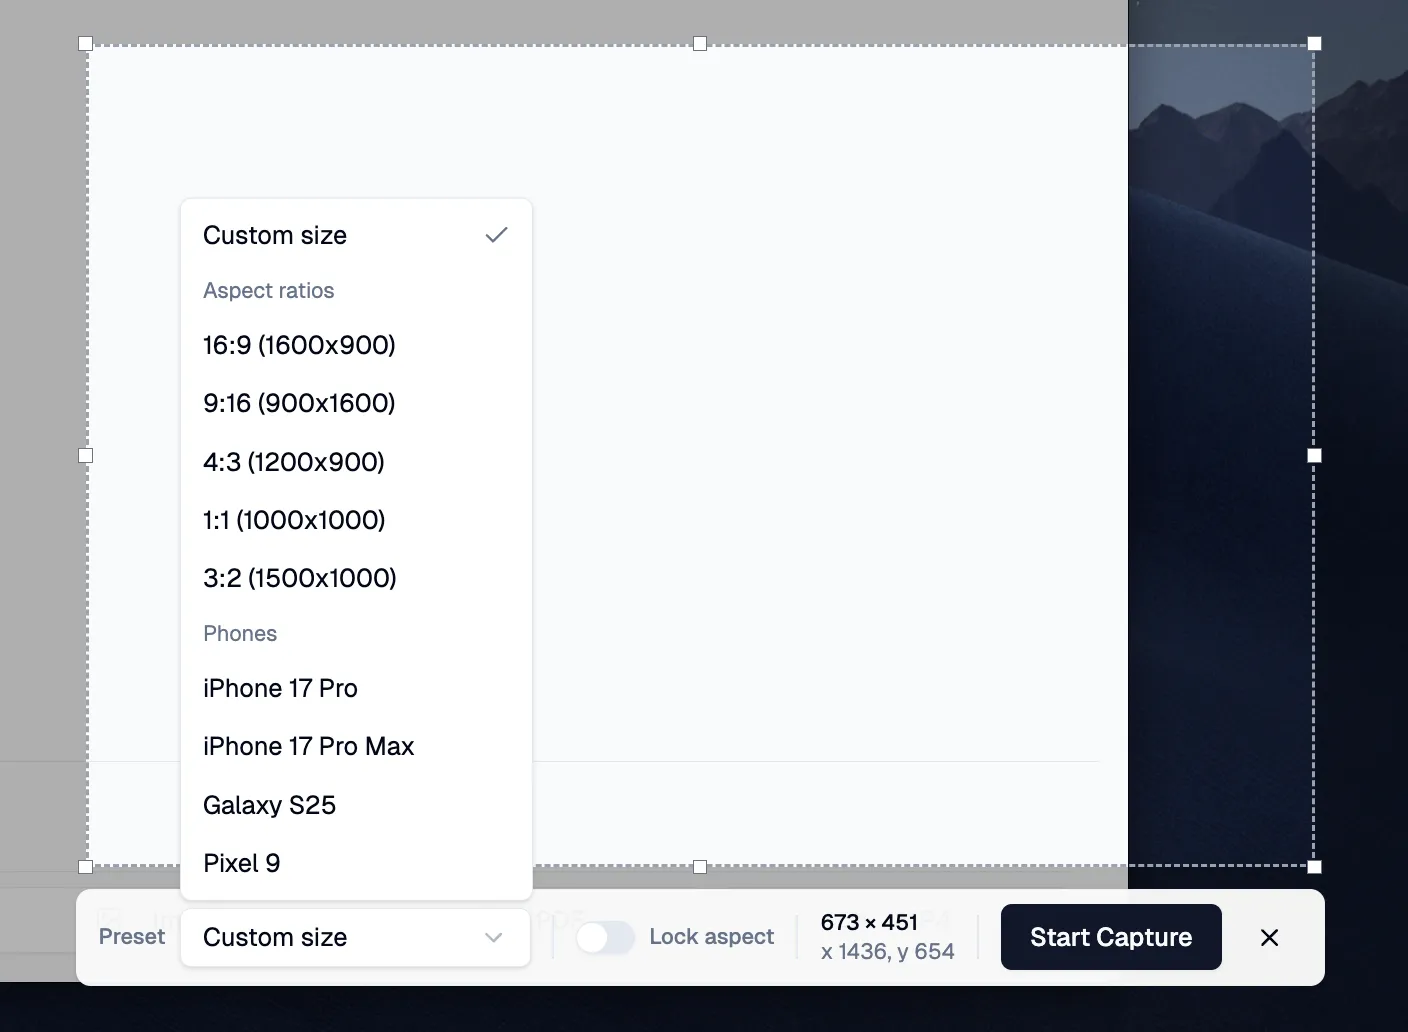
Select Custom Area from the Auto Capture setup screen. The picker reopens the saved area when one exists; otherwise, it starts with a centered 16:9 selection.
- Keep the current selection, or press Escape once and drag a new selection.
- Drag inside the selection to move it.
- Use an edge or corner handle to resize it.
- Choose an aspect ratio or device preset when the output needs a fixed size.
- Turn on Lock aspect to preserve the current proportions while resizing.
- Select Start Auto Capture.
The overlay shows the current width, height, and screen position. Press Escape once to reset an existing selection. Press Escape again to close the picker.
| Preset | Base size |
|---|---|
| 16:9 | 1600 × 900 |
| 9:16 | 900 × 1600 |
| 4:3 | 1200 × 900 |
| 1:1 | 1000 × 1000 |
| 3:2 | 1500 × 1000 |
| iPhone 17 Pro | 402 × 874 |
| iPhone 17 Pro Max | 440 × 956 |
| Galaxy S25 | 360 × 780 |
| Pixel 9 | 360 × 808 |
When a preset is larger than the display, Shotomatic scales it down to fit while preserving its aspect ratio.
Handle a display change
Connecting a display, disconnecting one, or changing the display layout can invalidate the selected source.
For a whole-screen capture, Shotomatic uses another available display when it can do so safely. For a custom area or an unavailable source, the app opens Display Configuration Changed. Select a new display and choose Continue with Selected Display, or stop the session and start a new one.