Step-by-Step Guide vs Screen Recording: Which Should You Use?
Choose between a screenshot guide and screen recording for tutorials, support, and documentation based on motion, audio, editing, and reader needs.
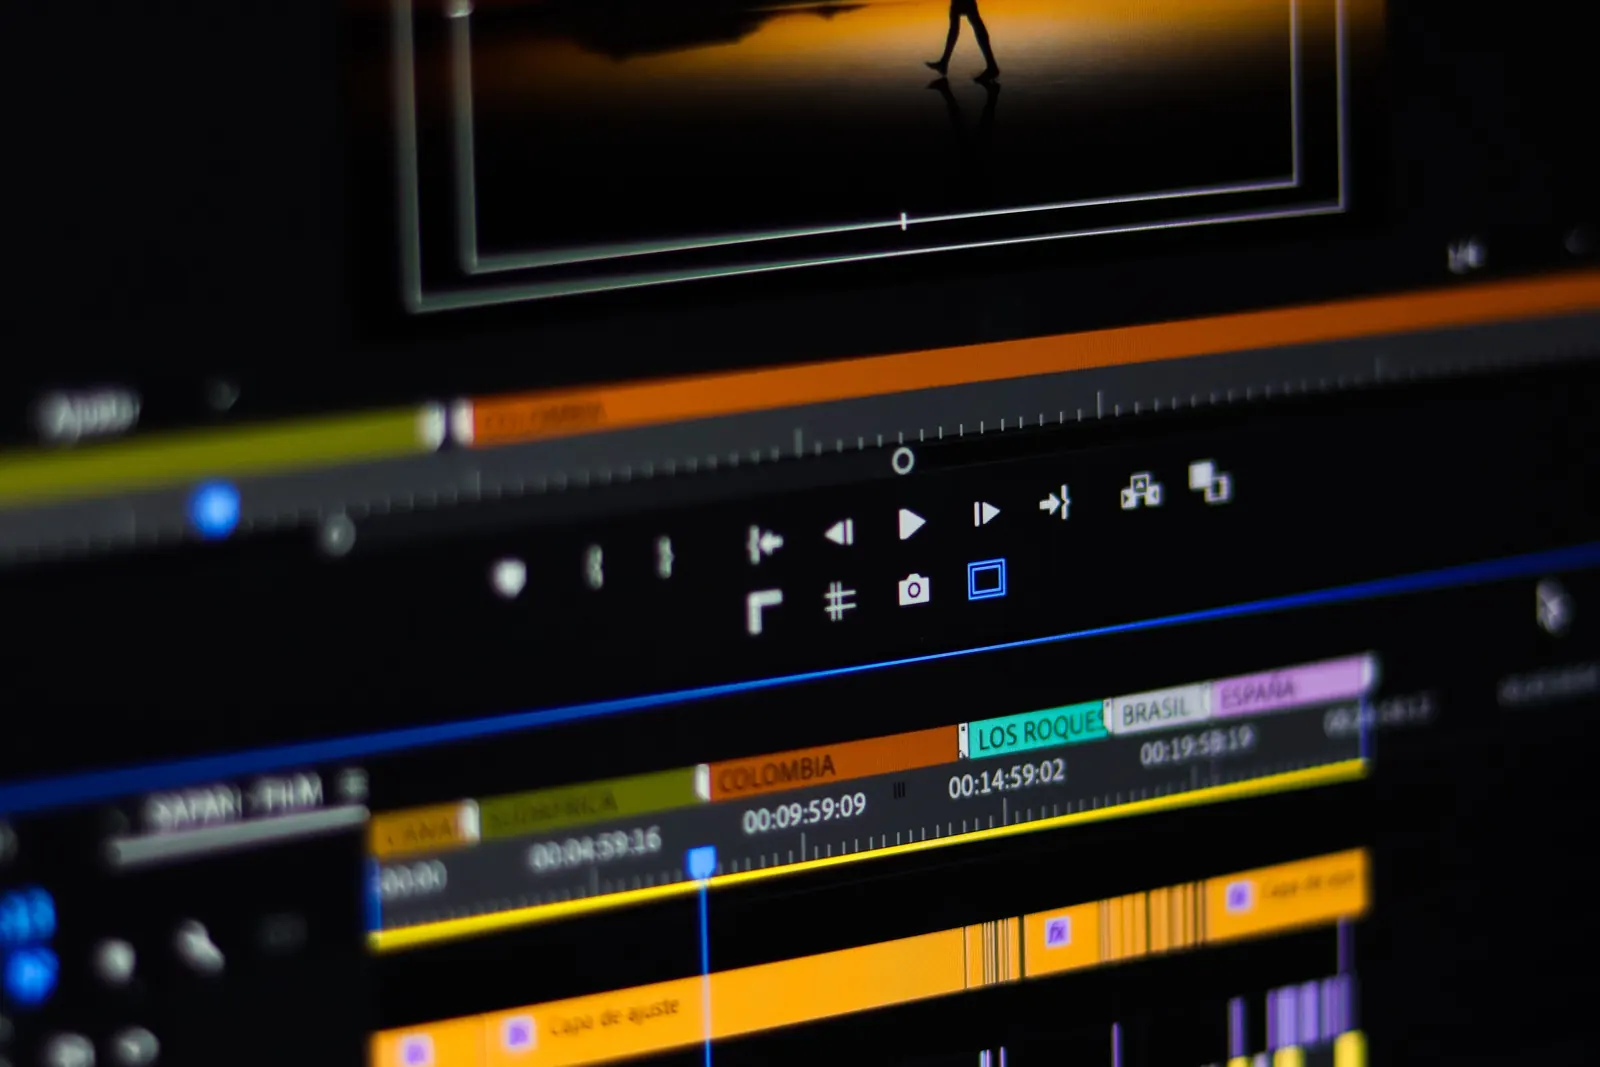
A step-by-step screenshot guide and a screen recording are two forms of visual documentation, but they ask the reader to use the information differently. A guide lets the reader stop at one action and continue at their own pace. A recording preserves movement, timing, and sound.
Before you capture, decide whether the final result should be a reference or a demonstration. This comparison covers what each format preserves, how updates work, and when the task needs both.
TL;DR: Use a screenshot guide for repeatable tasks, quick reference, and ordered instructions. Use screen recording when motion, exact timing, or audio is necessary to understand the task.
Screenshot guide vs screen recording at a glance
| Factor | Step-by-step screenshot guide | Screen recording |
|---|---|---|
| Reader experience | Follow one action at a time | Watch a continuous sequence |
| Best at showing | Screens, controls, values, and outcomes | Motion, timing, cursor movement, and transitions |
| Audio | Usually text-based | Can include narration and system audio |
| Finding one step | Scan headings or pages | Scrub the timeline |
| Editing | Remove or replace individual steps | Cut clips and re-export video |
| Updating after a UI change | Replace affected screenshots | Often re-record or edit the relevant segment |
| Sharing | Help article, PDF, document, or image set | Video file, link, or embedded player |
| Offline or printed use | Straightforward | Requires a device for playback |
Neither format is better for every tutorial. Choose a guide when the reader needs a reference. Choose a recording when they need to watch the action unfold.
Use a screenshot guide for repeatable tasks
A screenshot guide works well when the reader has to reproduce a series of clear actions. Each step can show the relevant screen, mark where to click, and state what should happen next.
Common examples include:
- changing a setting
- completing a form
- inviting a team member
- exporting a file
- following a support or troubleshooting procedure
The reader can keep the guide open beside the app and move between the two without trying to remember several seconds of video. If they return a week later, they can scan for the one step they need.
Screenshot guides also suit documentation that must be printed, attached to a ticket, stored as a PDF, or placed inside an existing knowledge base.
Use screen recording when movement matters
Screen recording is the better format when the path between two screen states contains useful information. A still image can show where a panel ended up, but it may not explain how the user dragged it there or how long a transition took.
Use video for:
- drag-and-drop interactions
- animation or gesture-based controls
- timing-sensitive bugs
- live narration or system audio
- demonstrations where pacing is part of the lesson
Video also carries more continuous context. The viewer sees the cursor move, the interface react, and the next action begin without a gap between frames.
That continuity comes with a tradeoff. A viewer looking for one setting may need to scrub through the recording, and a small interface change can require editing or recording part of the video again.
Editing and updates
A screenshot guide is edited as a sequence of independent steps. Remove a duplicate, replace one outdated screen, change a sentence, or move a page without touching the rest of the guide.
A screen recording is edited on a timeline. Removing dead time, hiding private information, correcting narration, or replacing an outdated section usually requires a video editor and a new export.
The difference becomes more noticeable when software changes often. If one button moves, a screenshot guide may need one new image. A video may need a new clip that matches the timing and narration around it.
Video editing is still worth the work when motion carries the explanation. The goal is not to minimize editing at any cost. It is to avoid recording information the reader does not need.
Privacy review
Both formats can capture notifications, customer details, account names, and unrelated windows. Prepare a clean account and close private material before either type of session.
A screenshot sequence lets you inspect every included frame before export. You can remove a frame or add redaction where needed. With video, private information may appear for only a moment, so review the entire timeline before sharing.
For either format, use sample data when possible and confirm the exported result rather than relying only on the editing preview.
Use both when one step needs motion
A hybrid tutorial often works better than forcing every instruction into the same format. Keep the screenshot guide as the main reference, then add a short clip for the one interaction that depends on movement or timing.
For example, a design tool tutorial might use screenshots for opening a panel, choosing settings, and confirming the result. A ten-second clip can show the drag gesture between those steps.
This keeps the main instructions easy to scan without losing the part that still images cannot explain clearly.
Make the decision before you capture
Choose a screenshot guide when the reader will complete the task while consulting the instructions or return later to find one step. Choose a screen recording when understanding the task depends on seeing movement, timing, or continuous interaction.
If only one action needs motion, use screenshots for the main guide and add a short clip for that action. If the goal is a compressed recap of a long work session rather than an instructional guide, read Screen Recording vs Screenshot Timelapse.
Create a screenshot guide with Action Capture
Shotomatic Action Capture saves the target state immediately before each accepted click and marks the click location. After the session, review the sequence, edit the pages, and export PDF, PNG, JPG, WebP, or ZIP. Free includes text, shapes, lines, arrows, Framing, and Action Focus. Pro removes the five-step session limit and adds Blur, Click Marker, and Step Numbers.
This workflow fits instructions that another person will follow one action at a time. It does not replace screen recording when the reader needs motion, timing, or audio.
For the complete workflow, read How to Create a Step-by-Step Guide from Clicks on Mac. Read more about Action Capture and the wider Shotomatic feature set, or see pricing for current plan details. For timed screenshots rather than action-driven steps, see Screenshot Automation on Mac.
FAQ
Are screenshots or screen recordings better for tutorials?
Screenshots are usually better for repeatable tasks that readers follow at their own pace. Screen recordings are better when motion, timing, audio, or continuous context is part of the instruction.
When should I use a step-by-step screenshot guide?
Use a screenshot guide for settings, forms, support procedures, onboarding tasks, and other workflows where each action can be shown as a clear state.
When should I use screen recording?
Use screen recording for gestures, animation, drag-and-drop interactions, live narration, timing-sensitive bugs, and demonstrations where the movement between states matters.
Can I use screenshots and video together?
Yes. Use the screenshot guide as the main reference and add a short video only for the steps where motion or timing is difficult to explain with still images.
Related posts
See more postsHow to Create a Step-by-Step Guide from Clicks on Mac
Create a step-by-step guide on Mac by capturing meaningful clicks, marking each action, editing the steps, and exporting images or a PDF.
Screen Recording vs Screenshot Timelapse: Which Should You Use?
For Mac workflow documentation, bug evidence, and async updates, screenshot timelapse is often lighter and easier to review than full screen recording. Here's when to use each approach.
How to Document a Product Walkthrough with Automated Screenshots on Mac
Capture a timed product walkthrough on Mac, turn the useful frames into an editable guide, add page instructions, and export the result.
Local vs Cloud Process Documentation Tools
Choose a local or cloud process documentation tool based on capture, storage, privacy, collaboration, offline access, sharing, and administration.
Turn your clicks into a clear step-by-step guide
Action Capture records each click as an ordered step, then lets you edit and export the guide on your Mac.