Screen Recording vs Screenshot Timelapse: Which Should You Use?
For Mac workflow documentation, bug evidence, and async updates, screenshot timelapse is often lighter and easier to review than full screen recording. Here's when to use each approach.
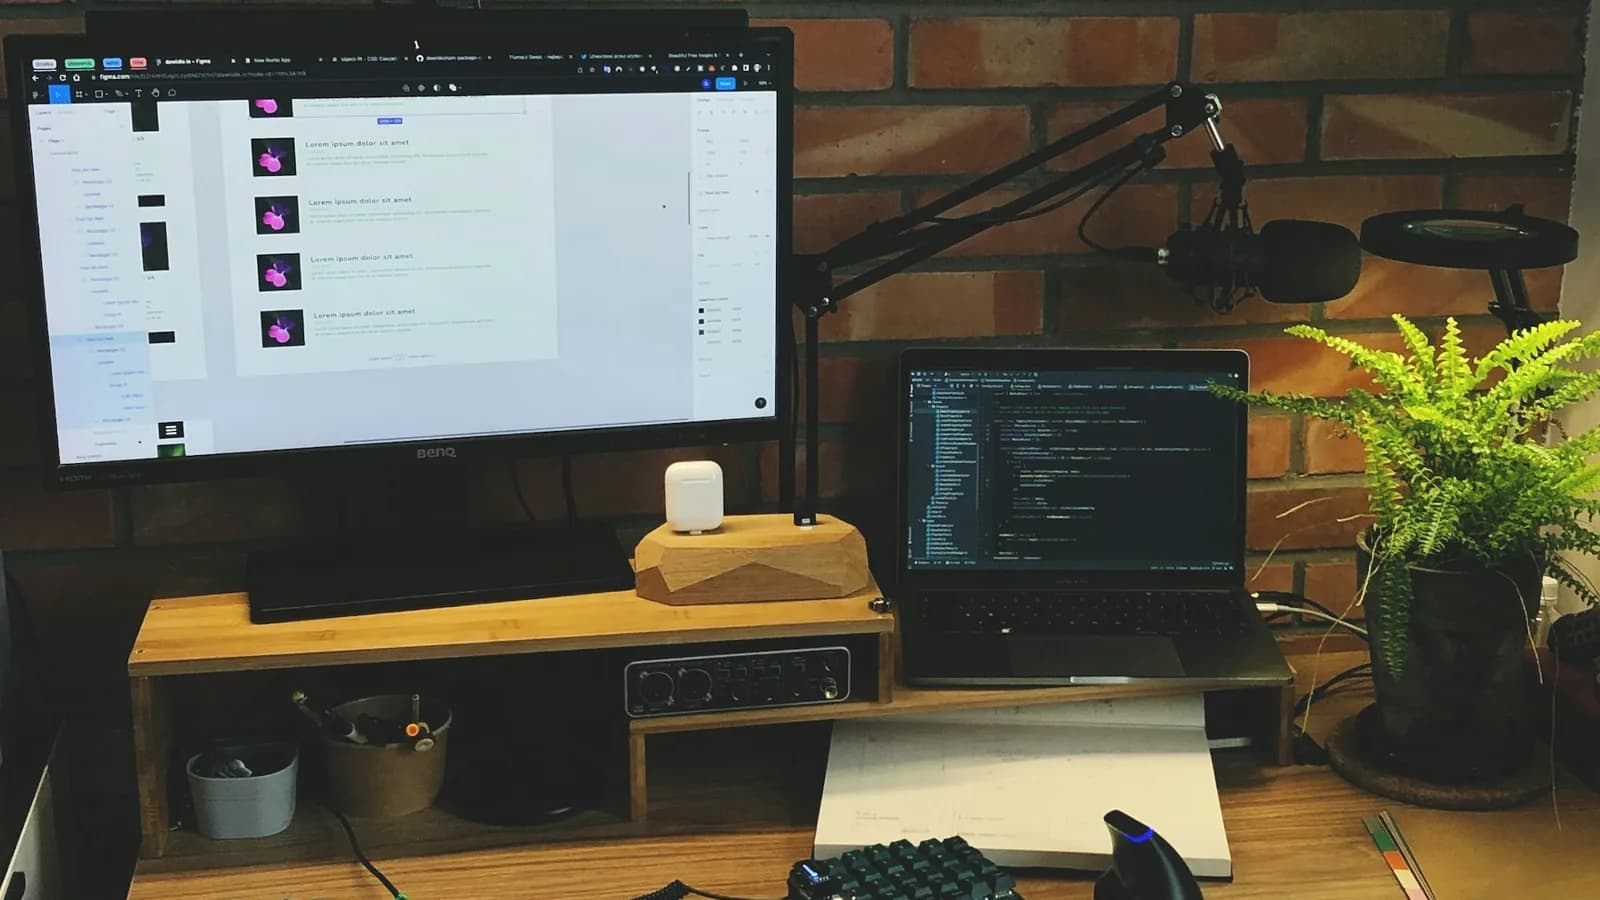
You just spent 4 hours reproducing a bug, updating a UI flow, or building a feature. You left screen recording running the whole time. Now the file is huge, the useful moments are buried in dead time, and the person reviewing it has to scrub through everything to find the point.
For many Mac workflow-documentation jobs, there is a better fit.
TL;DR: Use screen recording when you need audio, exact timing, or real-time playback. Use screenshot timelapse when the goal is async review: bug evidence, tutorial recaps, internal updates, client progress, or long work sessions compressed into something easier to skim.
What each approach does
Screen recording captures frames continuously, including mouse movement and pauses. The result preserves the timing and continuity of the session.
Screenshot timelapse takes still images at the interval you configure, then turns the selected frames into an MP4. It samples the session rather than preserving every moment.
The difference sounds small, but it changes everything about file size, editability, privacy, and system performance.
Screen recording vs screenshot timelapse
| Factor | Screen Recording | Screenshot Timelapse |
|---|---|---|
| File size | Usually much larger | Usually much smaller |
| Dead air | Included | Less dead time in the final export |
| Review workflow | Scrub video timeline | Review frames and export selected set |
| Privacy | Captures everything | Easier to review frame by frame |
| Audio | Yes | No |
| Real-time playback | Yes | No |
| System load | Higher continuous load | Lower periodic load |
| Best fit | Demos and live playback | Async documentation and workflow recap |
File size
This is the biggest practical difference. Screen recording encodes video continuously at 30-60fps, so long sessions quickly become multi-GB files.
Screenshot timelapse captures far fewer frames. At a 5-second interval, you get 720 frames per hour instead of tens of thousands of video frames. Exported as MP4, that often lands in the tens or low hundreds of megabytes depending on resolution and settings.
For a 4-hour work session, that is often the difference between something awkward to store and review versus something much easier to pass around in a team workflow.
Dead air
Screen recordings include the time you spend reading docs, waiting for a build, or stepping away from your desk. For a workflow recap, much of that may be unnecessary.
Timelapses compress long sessions into checkpoints. If you capture every 5 or 10 seconds, the final video usually has less dead time than a continuous recording, but it is still a sampled view of the session rather than a complete playback.
Editing
Need to remove a section from a screen recording? You need a video editor: iMovie, DaVinci Resolve, Premiere. You need to find the right timestamps, cut, and re-export.
Need to trim a timelapse? Review the frames, export only the ones you want, and skip the rest. No video editor required.
Privacy
Screen recordings capture everything visible on screen. Slack messages, email notifications, password prompts, browser tabs you forgot to close. One missed notification can mean reshooting the whole recording or spending time in a video editor.
With a timelapse, you can review the captured frames before exporting. Spot a frame with your email open? Leave it out of the selected export set. That makes privacy review much more manageable for many documentation workflows.
Audio
Use screen recording when you need live narration, system sounds, or audio synchronized with the on-screen action. A screenshot timelapse has no audio track during capture because it is built from still images.
You can add a voiceover to a timelapse in post-production, and in many docs or tutorial workflows that is easier to script and edit than live commentary. But if real-time audio matters, recording is the right tool.
CPU and RAM usage
Continuous screen recording means continuous video encoding. Depending on your encoder and resolution, that can create noticeably more CPU and memory pressure during long sessions.
Screenshot capture is a quick single-frame operation that runs only at the interval you choose. In practice, it is usually much lighter than recording every frame continuously.
Setup complexity
Screen recording wins here: open QuickTime or OBS, hit record, done. Timelapses require configuring an interval, choosing a capture mode, and an export step after you're done. It's not complex, but it's not one-click either.
When to use screen recording
Screen recording is the better choice in several scenarios.
- Audio narration: Recording a tutorial with live voiceover? You need continuous audio synced to the screen.
- Real-time tutorials: When the viewer needs to see exact mouse movements, typing speed, and real-time interaction.
- Live demos and presentations: Showing software in real-time, where pacing and flow matter.
- Bug reproduction at normal speed: When the precise order and timing of events matters.
If your output needs to be watched at normal speed with audio, use a screen recording.
When to use screenshot timelapse
For many async-review workflows, timelapse is the better fit.
Internal team updates. Replace "I worked on the auth flow" with a 20-second recap that shows what changed.
QA and bug-ticket evidence. Show the overall flow of a repeated test or repro session when the reviewer needs the recap, not exact second-by-second timing.
Tutorial and documentation recaps. Show the process of a workflow without forcing the viewer through normal-speed playback.
Client progress updates. Give stakeholders a fast visual recap instead of asking them to scrub through a long recording.
Long coding or design sessions. Turn hours of work into a short recap that still shows the direction of progress.
Any situation where the output is meant to be skimmed, not watched in full. If the viewer cares about the shape of the work more than exact timing, timelapse is often the better fit.
If exact interaction timing is part of the evidence, stick with screen recording. A timelapse can miss important in-between states because it samples the session instead of capturing every moment.
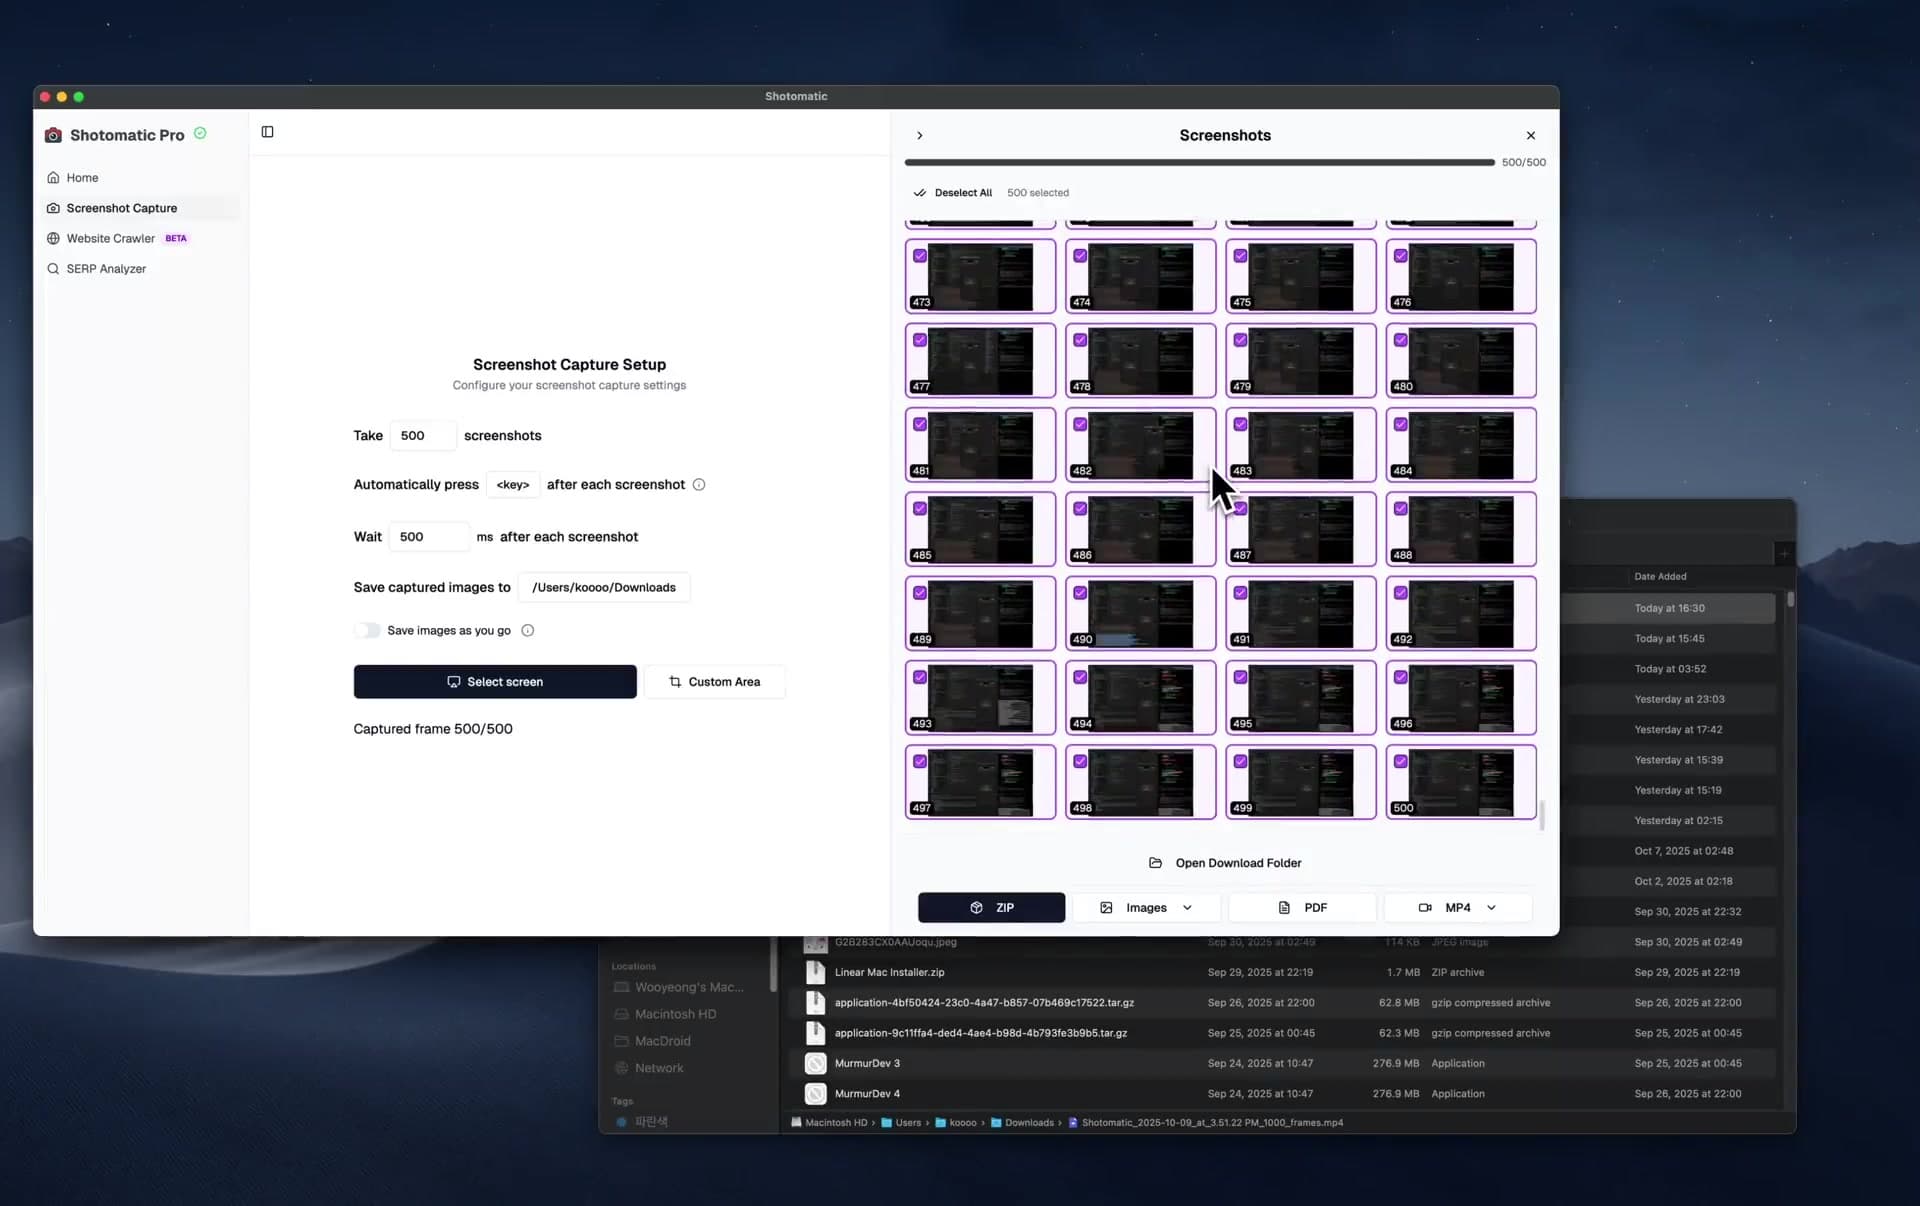
Create a screenshot timelapse
The short version:
- Set an interval: 5-10 seconds for coding/design, 30-60 seconds for all-day capture
- Capture: Work normally while screenshots are taken in the background
- Review and export: Review the frames, export the selected set as MP4
Shotomatic handles all three steps with a GUI: configure, capture, export MP4 without touching the terminal. There's a detailed step-by-step tutorial covering the full workflow, including a free DIY method using the macOS screencapture command and FFmpeg.
Which should you use?
Use screen recording when the reviewer needs audio, exact timing, cursor movement, or continuous playback. Use a screenshot timelapse when the reviewer needs a short visual recap and can skip the moments between captures.
For timing-sensitive demos or bug reproduction, record the screen. For async updates, documentation recaps, and long work sessions, a timelapse is usually easier to review.
FAQ
Can I add audio to a screenshot timelapse?
Not during capture: timelapses are built from still images, so there's no audio stream. But you can add a voiceover in post-production using any video editor. For tutorials or internal walkthroughs, recording narration after the fact is often cleaner and easier to revise than live commentary.
How often should I capture screenshots for a timelapse?
For coding or design work, every 5-10 seconds captures meaningful changes without excess frames. For all-day documentation, 30-60 seconds keeps file sizes small. For quick demos where you want smooth playback, 1-3 seconds works well.
Is a screenshot timelapse good enough for internal updates or documentation?
Yes. For async updates, tutorials, and workflow recaps, a timelapse is often easier to skim than a long recording. It works best when the viewer needs the shape of the work, not real-time playback with audio.
What tools can create screenshot timelapses on Mac?
Shotomatic provides a GUI workflow: set an interval, capture, export MP4. For a free CLI approach, combine the macOS screencapture command with FFmpeg to stitch frames into video. OBS can also record your screen, but you'll need a video editor to speed up the footage.
Does taking screenshots every few seconds slow down my Mac?
Usually far less than continuous screen recording. A screenshot is a quick single-frame capture, while screen recording has to keep encoding video in real time for the whole session. The exact difference depends on your Mac, resolution, and capture interval.
Related posts
See more postsHow to Create a Screen Timelapse on Mac (2026)
Create a screen timelapse on Mac with interval screenshots and MP4 export. Compare Shotomatic, a screencapture and FFmpeg script, and OBS.
Best Screenshot Automation Tools for Mac (2026)
Compare Shotomatic, Snagit, and CleanShot X for interval captures, click-by-click guides, website batches, searchable PDFs, and manual screenshots.

How to Document QA Test Steps with Screenshots
Document QA test steps with prerequisites, expected results, pass or fail evidence, and a reviewable screenshot sequence.

How to Document a Bug with Step-by-Step Screenshots on Mac
Document a reproducible software bug on Mac with clear steps, screenshots, environment details, expected results, and useful evidence.
Ready to automate your screenshots?
Archive books, capture content, and save hours of manual work.