Manual Screenshots vs Automatic Click Capture
Choose manual screenshots or automatic click capture based on task length, control, missed steps, setup, editing, and final output.
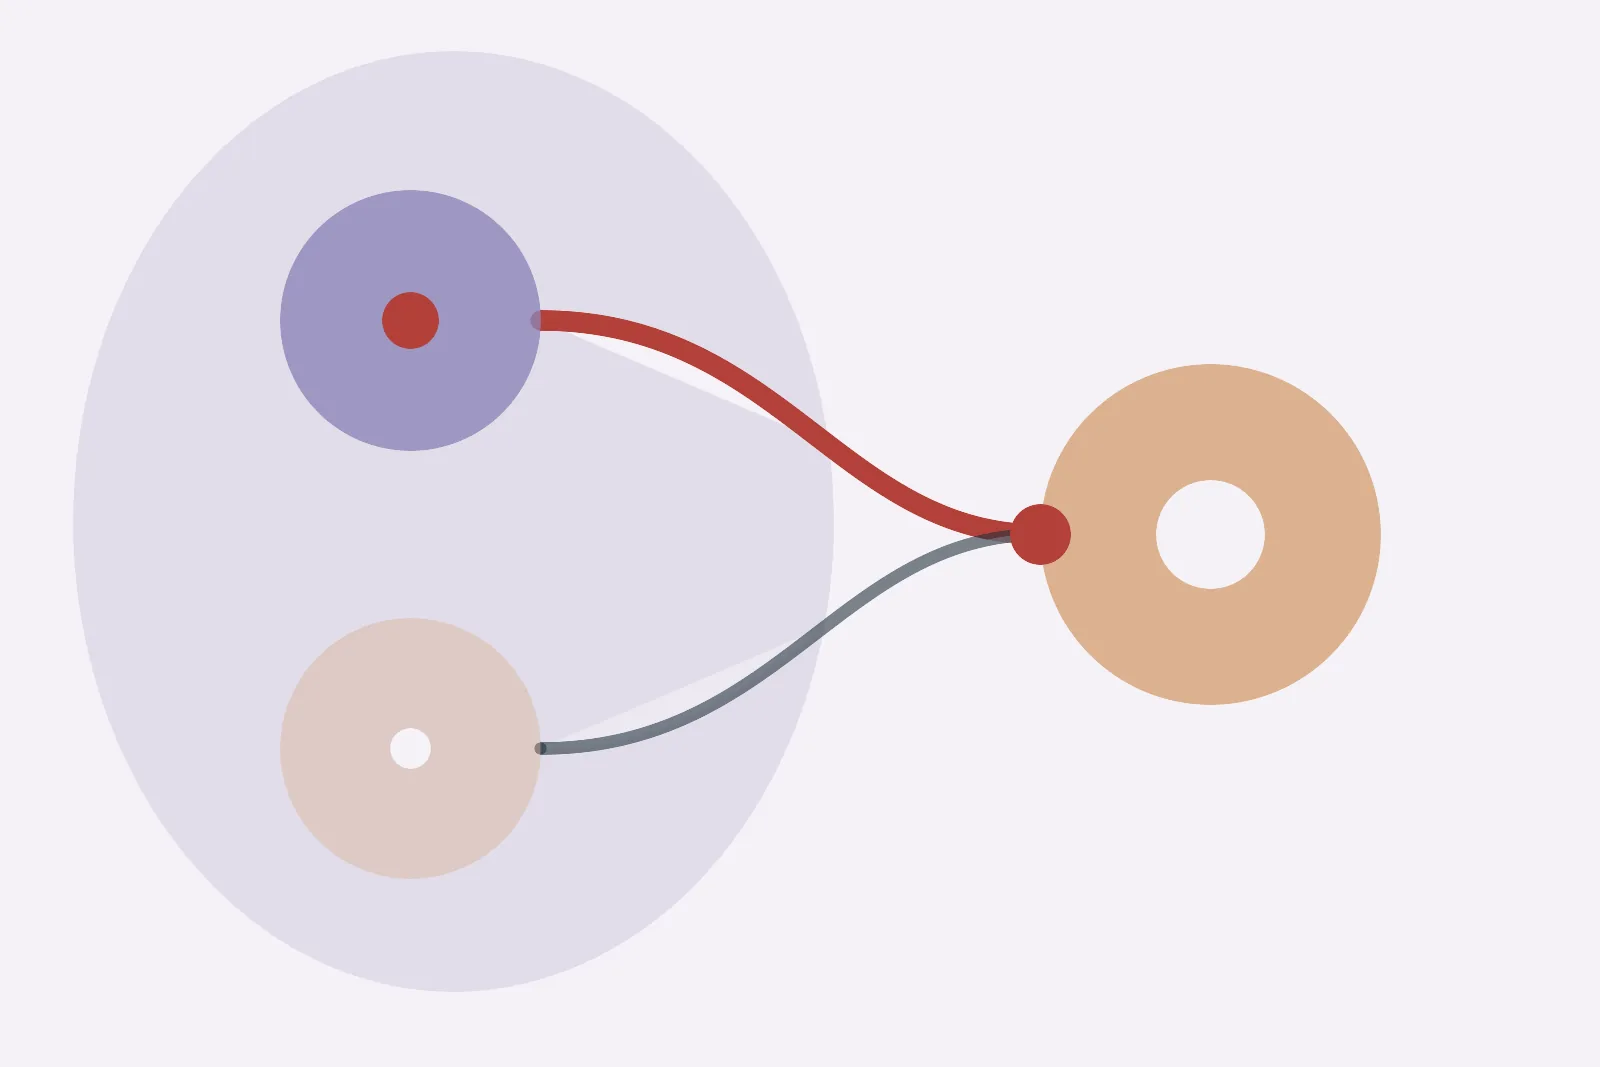
Manual screenshots and automatic click capture can produce the same set of images, but they change how you move through the task. The choice comes down to frame-by-frame control versus an uninterrupted first pass, along with task length, missed-step risk, setup, editing, and output.
TL;DR: Use manual screenshots for a few deliberate frames. Use click capture when the reader needs most of the actions in a longer software path and stopping after every step would interrupt the task.
Manual screenshots vs click capture at a glance
| Factor | Manual screenshots | Automatic click capture |
|---|---|---|
| Best fit | A few selected states | A multi-step software task |
| Capture control | You choose every frame | Each accepted click saves a pre-click frame |
| Interruption | Stop, capture, name, then continue | Complete the task in one capture session |
| Missed-step risk | Higher when capture is done from memory | Lower for click-driven actions |
| Extra frames | Usually fewer | Incidental clicks may need removal |
| File order | May need naming or assembly | Captured in action order |
| Setup | Minimal | Choose a target and start a session |
| Editing | Frame selection happens during capture | Sequence cleanup happens after capture |
The best method depends on where you want to make decisions. Manual capture chooses the useful frame before saving it. Click capture saves the sequence first and moves more of the selection work into review.
Use manual screenshots for a few deliberate states
Manual capture works well when the guide needs one to three images or an unusual state that appears only after careful preparation. You can wait for the exact frame, position the pointer, and exclude actions that are obvious in text.
Common examples include:
- showing the location of one setting
- documenting a final confirmation screen
- comparing a before and after state
- capturing a menu that closes when another action occurs
- adding one image to an existing article
Manual capture also fits a task with many keyboard actions and very few meaningful clicks. A click-triggered sequence may not reflect the true instruction order in that case.
Use click capture for a longer software path
Click capture works well when the required actions form the guide. Start the session, complete the task in order, and review the collected pages afterward.
This approach reduces the need to switch between the task and a screenshot command. It also preserves actions that might be forgotten when someone tries to reconstruct the guide from memory.
Action Capture saves the target state immediately before each accepted click and marks the click location. Free supports 5 saved steps in one session. Shotomatic saves the fifth step before pausing, then lets you open the document or activate Pro and continue the same session.
Compare interruption and missed steps
Manual capture interrupts the task every time you decide to save a frame. The interruption is small for a short guide, but it becomes more noticeable when the workflow has several menus, settings, or dependent actions.
Click capture reduces that interruption because the trigger is already part of the task. The tradeoff is that incidental clicks may become pages that you remove later.
Choose based on the cost of the two errors:
- Use manual capture when an extra frame is costly and missing a step is easy to notice.
- Use click capture when missing a required action is costly and removing an extra page is easy.
Compare capture control and editing work
Manual screenshots concentrate control at capture time. You decide the crop, pointer position, and useful state before each file is saved.
Click capture concentrates control in the editing pass. You review the page order, delete incidental actions, adjust titles and descriptions, crop or blur screens, and add context where the recorded click is not enough.
Neither route removes editing. The difference is whether you curate each frame during the task or curate the sequence after the task.
Consider the finished output
The output requirement can change the choice. A few manual files may be enough for an email or existing help article. An ordered guide is easier to assemble when the capture tool keeps the pages together.
Shotomatic Free and Pro export Action Capture Documents as PDF, PNG, JPG, WebP, or ZIP. Free includes Text, shapes, Line, Arrow, Framing, and Action Focus. Pro adds Blur, Click Marker, and Step Numbers. Check the current pricing page for the current capture limits.
Use a hybrid method when the workflow has exceptions
A hybrid method works well when most actions are click-driven but one or two states need deliberate capture. Record the main path with click capture, then replace or add the exceptional frames during editing.
For example, a menu may close too quickly, a drag operation may need a separate screenshot, or the final state may be clearer after the pointer moves away. The goal is not to preserve the capture method. The goal is to give the reader the clearest ordered evidence.
Choose with this rule
Use manual screenshots when the guide is short, the frames are highly selective, or exact capture timing matters more than preserving the action sequence.
Use automatic click capture when the task has several required clicks, order matters, and completing the workflow without repeated capture interruptions will reduce missed steps.
After choosing click capture, follow How to Create a Step-by-Step Guide from Clicks on Mac for planning, review, editing, and export. See Action Capture for the current Shotomatic workflow and plan differences. If time rather than clicks should trigger each frame, use the Screenshot Automation on Mac workflow instead.
Frequently Asked Questions
Related posts
See more postsHow to Create a Step-by-Step Guide from Clicks on Mac
Create a step-by-step guide on Mac by capturing meaningful clicks, marking each action, editing the steps, and exporting images or a PDF.
Step-by-Step Guide vs Screen Recording: Which Should You Use?
Choose between a screenshot guide and screen recording for tutorials, support, and documentation based on motion, audio, editing, and reader needs.
How to Automate Screenshots on Mac with Built-In Tools
Automate screenshots on Mac with screencapture, Automator, or Shortcuts, including permissions, safe loops, and troubleshooting.
Local vs Cloud Process Documentation Tools
Choose a local or cloud process documentation tool based on capture, storage, privacy, collaboration, offline access, sharing, and administration.
Turn your clicks into a clear step-by-step guide
Action Capture records each click as an ordered step, then lets you edit and export the guide on your Mac.