How to Automate Website Screenshots with Puppeteer
Use Puppeteer to automate website screenshots with JavaScript. Capture one page, full-page screenshots, URL batches, and mobile viewports with a reusable script.

In this article, we will build a Puppeteer screenshot script in stages: first a single viewport capture, then full-page capture, a reusable URL runner, and a mobile viewport.
Puppeteer works well for this because the first script can stay small: launch a browser, open a URL, and call page.screenshot(). The official Puppeteer overview describes it as a JavaScript API for controlling Chrome or Firefox, headless by default.
The examples use Shotomatic's tools page, https://www.shotomatic.com/tools, so you can see how the same page changes across viewport, full-page, batch-ready, and mobile captures.
TL;DR: Use Puppeteer when you want screenshot automation in code. Set the viewport, wait for the page state you care about, call
page.screenshot(), then add full-page capture, batching, retries, and reporting. If you only need to capture a list of public URLs without maintaining a script, a no-code workflow like Shotomatic's Website Capture may be simpler.
When Puppeteer is the right tool
Puppeteer makes sense when the screenshot workflow belongs in code and the job is mostly browser control.
Use it when you want to:
- capture public pages from a Node.js script
- reuse Chrome's rendering behavior for screenshots
- log in or dismiss a popup before capture
- save viewport, full-page, PNG, JPEG, or WebP screenshots
The screenshot comes from a real headless browser, not an image library. That is the main reason Puppeteer is useful here.
Install Puppeteer for a screenshot script
For a plain Node.js project, install Puppeteer:
$ mkdir website-screenshots-puppeteer
$ cd website-screenshots-puppeteer
$ npm init -y
$ npm i puppeteer
$ mkdir scripts screenshots
The standard puppeteer package downloads a compatible Chrome for Testing during installation. Puppeteer's official installation docs also note that it downloads a chrome-headless-shell binary. If you already manage the browser yourself, or you are connecting to a remote browser, use puppeteer-core instead.
Modern package managers sometimes block install scripts. If Puppeteer is installed but the browser is missing, the official configuration docs show how to install browsers separately:
$ npx puppeteer browsers install
Capture one website screenshot
Create scripts/capture-one.mjs:
import puppeteer from "puppeteer";
import { mkdir } from "node:fs/promises";

const url = "https://www.shotomatic.com/tools";
const outputPath = "screenshots/shotomatic-tools.png";

const browser = await puppeteer.launch();
const page = await browser.newPage();

try {
  await mkdir("screenshots", { recursive: true });

  await page.setViewport({
    width: 1440,
    height: 1000,
    deviceScaleFactor: 1,
  });

  await page.goto(url, {
    waitUntil: "networkidle2",
    timeout: 45_000,
  });

  await page.screenshot({ path: outputPath });
  console.log(`Saved ${outputPath}`);
} finally {
  await browser.close();
}
Run it:
$ node scripts/capture-one.mjs
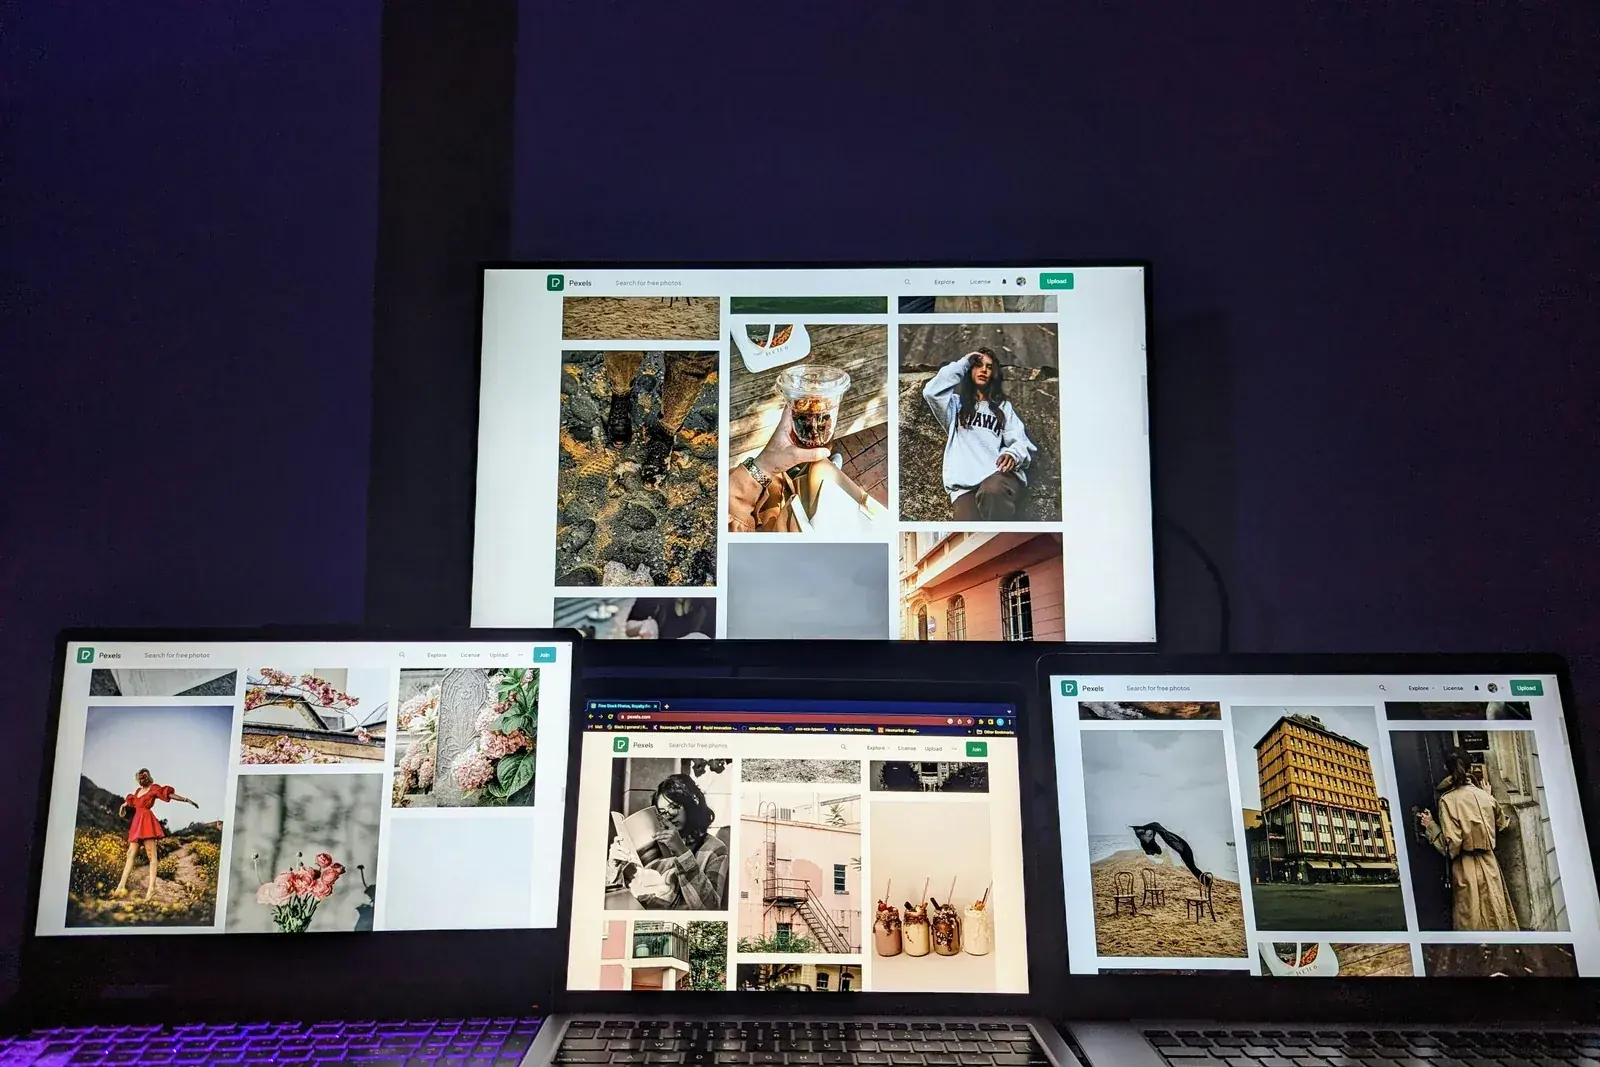
Running that script creates screenshots/shotomatic-tools.png:
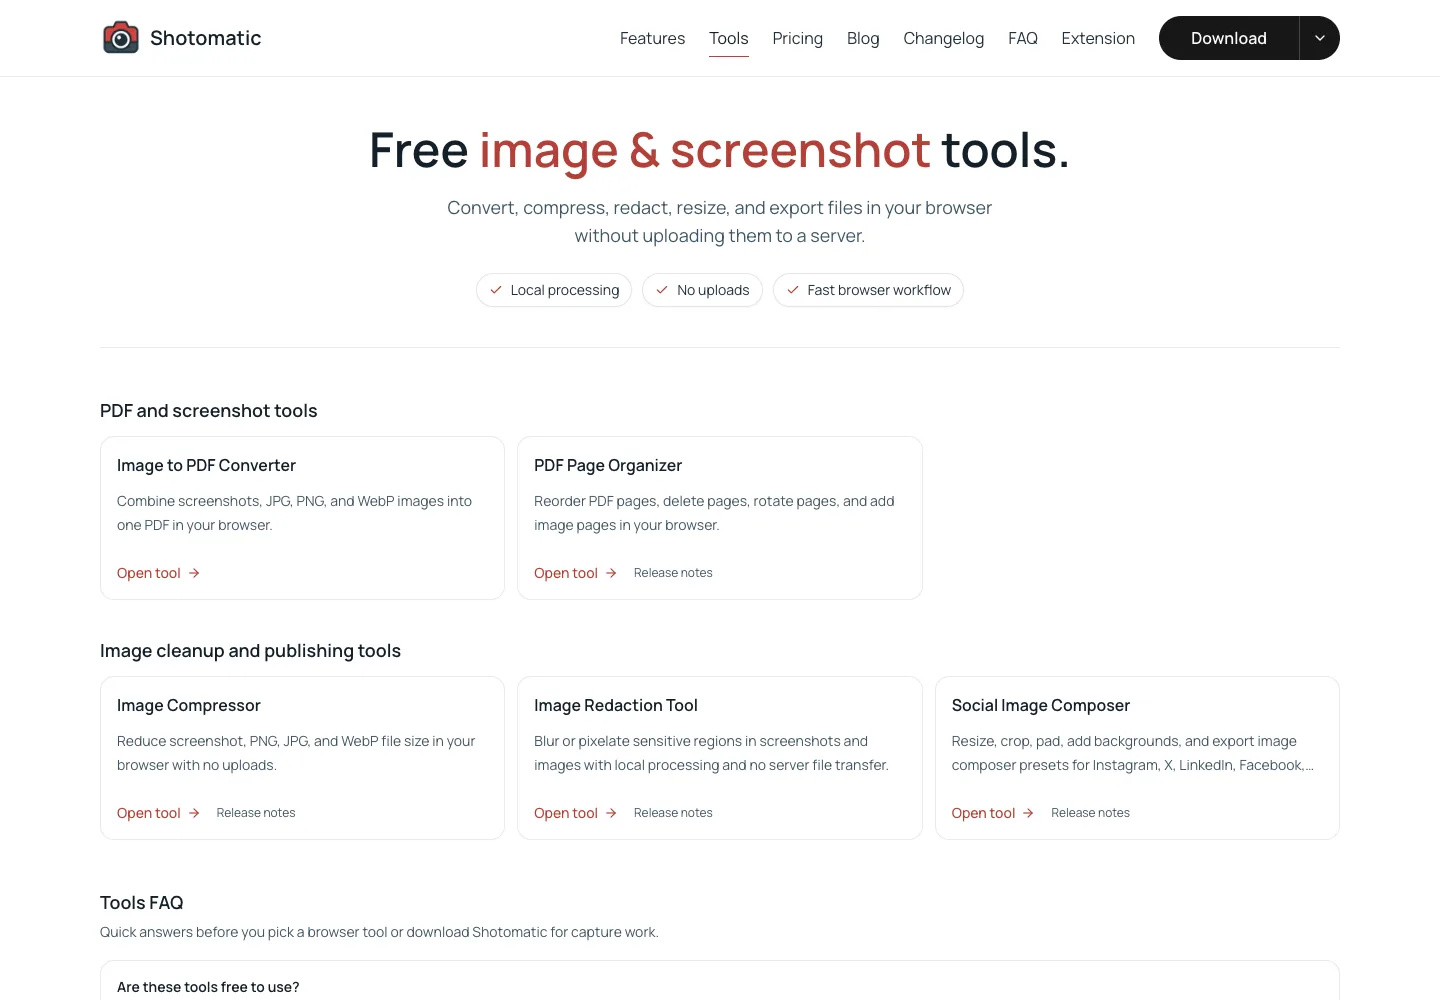
Puppeteer's official screenshots guide uses the same basic flow: launch the browser, open a page, navigate to a URL, and call page.screenshot(). The path extension controls the output format unless you pass a type option directly. Puppeteer's ScreenshotOptions and ImageFormat docs cover fullPage, path, quality, and the supported png, jpeg, and webp formats.
Set the viewport before navigation. Puppeteer's page.setViewport() docs call this out because some sites behave differently when a page is resized after it loads, especially for mobile layouts.
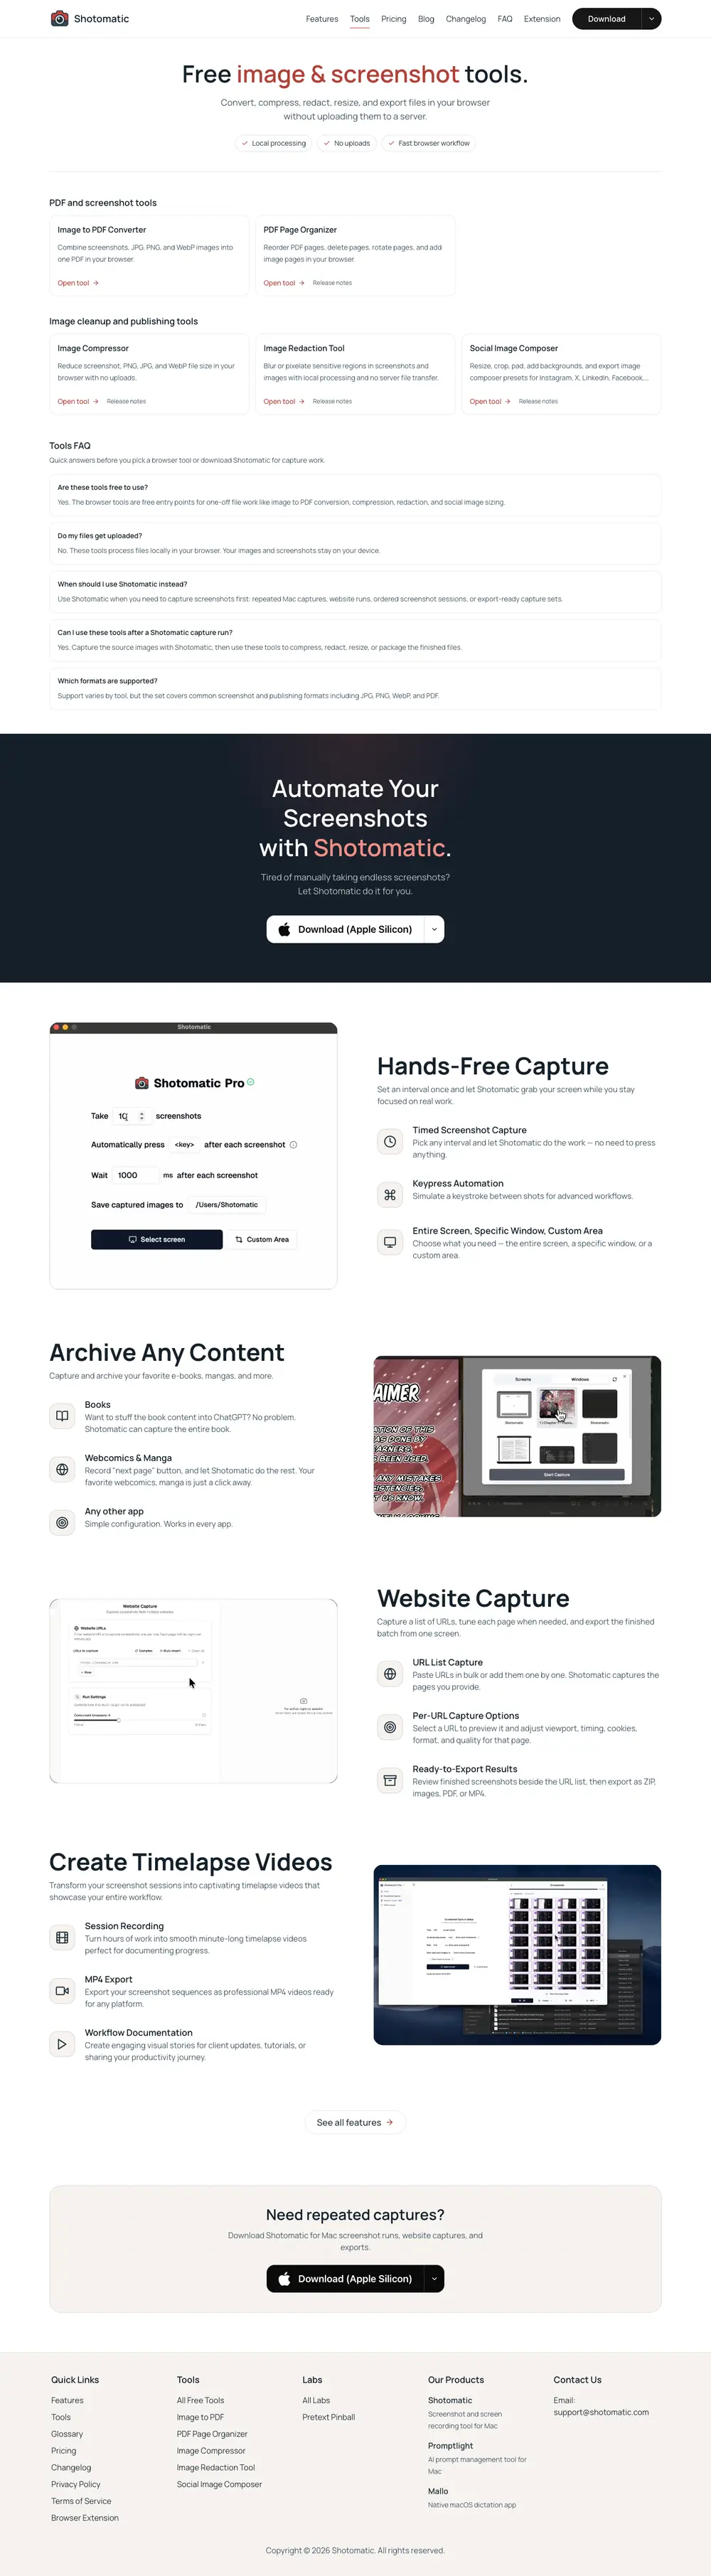
Capture a full-page screenshot
For a full-page screenshot, pass fullPage: true. Puppeteer's ScreenshotOptions defines fullPage as the option for taking a screenshot of the full page:
await page.screenshot({
  path: "screenshots/shotomatic-tools-full-page.png",
  fullPage: true,
});
Use full-page capture when you need the whole scrollable document. Use a viewport screenshot when you care about what the page looks like at a specific screen size.
Full-page capture still depends on the page state. fullPage: true changes the capture area, but it does not force lazy-loaded images, animations, or in-view sections to render. The lazy-loading section below shows why the page state matters.
Build a reusable URL runner
Once one screenshot works, move the target URL into a script that can accept a list. The example still uses only /tools, so the output stays easy to follow. Later, you can add more URLs to the same array.
Create scripts/capture-batch.mjs:
import puppeteer from "puppeteer";
import { mkdir } from "node:fs/promises";

const urls = ["https://www.shotomatic.com/tools"];

const outputDir = "screenshots";

function filenameForUrl(url, index) {
  const parsed = new URL(url);
  const rawName = `${parsed.hostname}${parsed.pathname}`;

  const slug = rawName
    .replace(/^www\./, "")
    .replace(/\/$/, "")
    .replace(/[^a-z0-9]+/gi, "-")
    .replace(/^-+|-+$/g, "")
    .toLowerCase();

  return `${String(index + 1).padStart(2, "0")}-${slug || "home"}.png`;
}

async function captureUrl(browser, url, index) {
  const context = await browser.createBrowserContext();
  const page = await context.newPage();
  const outputPath = `${outputDir}/${filenameForUrl(url, index)}`;

  try {
    await page.setViewport({
      width: 1440,
      height: 1000,
      deviceScaleFactor: 1,
    });

    await page.goto(url, {
      waitUntil: "networkidle2",
      timeout: 45_000,
    });

    await page.waitForSelector("body", {
      visible: true,
      timeout: 15_000,
    });

    await page.screenshot({
      path: outputPath,
      fullPage: true,
    });

    console.log(`Captured ${url} -> ${outputPath}`);
    return { url, ok: true, outputPath };
  } catch (error) {
    console.error(`Failed ${url}: ${error.message}`);
    return { url, ok: false, error: error.message };
  } finally {
    await context.close();
  }
}

await mkdir(outputDir, { recursive: true });

const browser = await puppeteer.launch();

try {
  const results = [];

  for (const [index, url] of urls.entries()) {
    results.push(await captureUrl(browser, url, index));
  }

  const failed = results.filter((result) => !result.ok);

  if (failed.length > 0) {
    process.exitCode = 1;
    console.error(`${failed.length} screenshot(s) failed.`);
  }
} finally {
  await browser.close();
}
This keeps one browser open and creates a separate browser context for each URL. Puppeteer's BrowserContext docs describe these contexts as isolated user sessions, with separate cookies and storage. That helps when a page sets cookies or local storage during capture.
The loop runs sequentially on purpose. It is slower, but easier to debug first.
Add concurrency for bigger batches
For a handful of URLs, sequential capture is fine. For larger lists, add a small concurrency limit.
Start with 2-4 concurrent captures. A headless browser still uses CPU and memory, and aggressive batches can trigger rate limits or unstable page loads.
Add this helper:
async function runWithConcurrency(items, limit, worker) {
  const results = new Array(items.length);
  let nextIndex = 0;

  async function runNext() {
    while (nextIndex < items.length) {
      const currentIndex = nextIndex;
      nextIndex += 1;
      results[currentIndex] = await worker(items[currentIndex], currentIndex);
    }
  }

  const workers = Array.from(
    { length: Math.min(limit, items.length) },
    () => runNext(),
  );

  await Promise.all(workers);
  return results;
}
Then replace the sequential loop:
const results = await runWithConcurrency(urls, 3, (url, index) =>
  captureUrl(browser, url, index),
);
This gives the batch more throughput without letting the script open an unbounded number of pages.
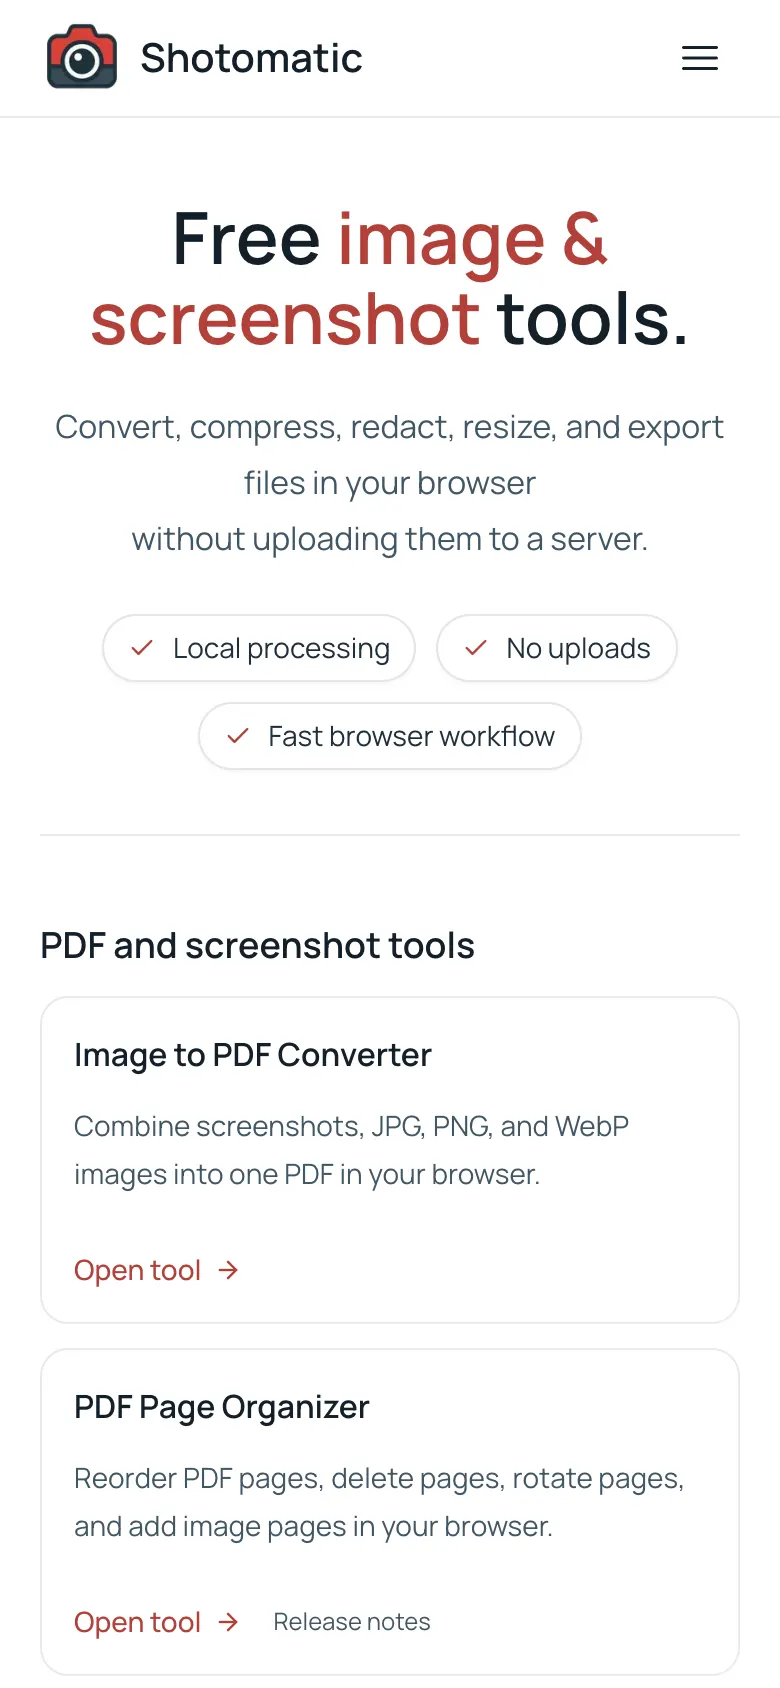
Capture mobile screenshots
For a mobile-sized screenshot, set the viewport before page.goto():
await page.setViewport({
  width: 390,
  height: 844,
  deviceScaleFactor: 2,
  isMobile: true,
  hasTouch: true,
});

await page.goto("https://www.shotomatic.com/tools", {
  waitUntil: "networkidle2",
});

await page.screenshot({
  path: "screenshots/shotomatic-tools-mobile-viewport.png",
});
Use this when a rough mobile viewport is enough. Here is the same tools page captured with that viewport:
If you need a richer device preset, Puppeteer also exposes known devices:
import puppeteer, { KnownDevices } from "puppeteer";

const iPhone = KnownDevices["iPhone 15"];

await page.emulate(iPhone);
await page.goto("https://www.shotomatic.com/tools", {
  waitUntil: "networkidle2",
});
await page.screenshot({
  path: "screenshots/shotomatic-tools-iphone-15.png",
  fullPage: true,
});
Device emulation is more useful when viewport, user agent, touch behavior, and device scale factor all matter. Puppeteer's page.emulate() docs note that it sets both user agent and viewport, so use it before navigation.
Handle lazy-loaded content
Many pages load images or reveal sections only after they enter the viewport. If you capture the full page too early, the screenshot can preserve empty space where below-the-fold content has not appeared yet.
Before a full-page screenshot, scroll through the document to trigger common lazy-loading behavior:
async function triggerLazyLoading(page) {
  await page.evaluate(async () => {
    const delay = (ms) => new Promise((resolve) => setTimeout(resolve, ms));
    const viewportHeight = window.innerHeight;
    const scrollHeight = document.body.scrollHeight;

    for (let y = 0; y < scrollHeight; y += viewportHeight) {
      window.scrollTo(0, y);
      await delay(150);
    }

    window.scrollTo(0, 0);
  });
}
Use it before page.screenshot():
await page.goto(url, {
  waitUntil: "networkidle2",
  timeout: 45_000,
});

await triggerLazyLoading(page);

await page
  .waitForFunction(
    () => Array.from(document.images).every((image) => image.complete),
    { timeout: 15_000 },
  )
  .catch(() => {});

await page.screenshot({
  path: outputPath,
  fullPage: true,
});
Some pages need more than this. Custom scroll containers, animations, deferred API calls, or virtualized content can all require a page-specific selector or state.
Choose the right wait strategy
Most screenshot reliability problems come down to timing.
networkidle2 is a reasonable starting point for many screenshot scripts, and Puppeteer's own screenshot guide uses it in the basic example. Treat it as a starting point, not a promise that the page is ready. Some sites keep background requests open. Others render the main content after the network is quiet.
Common wait strategies:
- use
waitUntil: "networkidle2"for ordinary public pages - use
page.waitForSelector()when a specific element proves the page is ready - use
page.waitForFunction()when readiness depends on app state - scroll before capture when images lazy-load
- avoid fixed sleeps as the primary wait rule
For example:
await page.goto(url, {
  waitUntil: "networkidle2",
  timeout: 45_000,
});

await page.waitForSelector("main", {
  visible: true,
  timeout: 15_000,
});

await page.screenshot({
  path: outputPath,
  fullPage: true,
});
If you maintain the target site, selector waits are usually more reliable than waiting for a generic network condition.
Add retries and a report
Real screenshot batches fail for normal reasons: temporary network errors, slow pages, redirects, rate limits, cookie banners, and third-party scripts.
Add retries around each URL:
async function withRetries(task, retries = 2) {
  let lastError;

  for (let attempt = 0; attempt <= retries; attempt += 1) {
    try {
      return await task();
    } catch (error) {
      lastError = error;
      console.warn(`Attempt ${attempt + 1} failed: ${error.message}`);
    }
  }

  throw lastError;
}
Wrap the capture work:
await withRetries(async () => {
  await page.goto(url, {
    waitUntil: "networkidle2",
    timeout: 45_000,
  });

  await page.waitForSelector("body", {
    visible: true,
    timeout: 15_000,
  });

  await page.screenshot({
    path: outputPath,
    fullPage: true,
  });
});
For jobs you will run again, write a JSON report with each URL, output path, success state, error message, and timestamp. The screenshot shows the page. The report explains the run.
A practical folder structure
For jobs you expect to rerun, separate inputs, outputs, and reports:
website-screenshots-puppeteer/
  scripts/
    capture-batch.mjs
  urls/
    product-pages.txt
    competitor-pages.txt
  screenshots/
    2026-06-23-product-pages/
    2026-06-23-competitors/
  reports/
    2026-06-23-product-pages.json
This makes the workflow easier to rerun and debug. It also keeps each screenshot set tied to the URL list that produced it.
Common mistakes
- Capturing before the page is ready:
page.goto()finishing does not always mean the content you care about has rendered. Wait for a selector or app state. - Setting the viewport too late: set the viewport before navigation so the page can load with the right layout from the start.
- Treating
fullPageas lazy-load handling: full-page capture changes the screenshot area. It does not guarantee that every deferred image has loaded. - Opening too many pages at once: start with low concurrency. Browser automation can overwhelm your machine or the target site.
- Reusing filenames: URLs can differ only by trailing slash, query string, or path casing. Add an index and sanitize names.
- Skipping cleanup: close contexts and the browser. Long-running jobs get messy when pages and sessions leak.
Alternatives to a Puppeteer screenshot script
Puppeteer is only one way to automate website screenshots.
If the job stays in code, Playwright is the closest alternative. It is often a better fit when screenshots are part of a larger test suite, when you need Chromium, Firefox, and WebKit coverage, or when you want Playwright Test's runner, traces, and reports around the capture work.
If you are building screenshot capture into a product, a screenshot API may save work compared with maintaining browsers yourself. Browser binaries, CI memory, retries, cleanup, and login state all become your problem once the script has to run reliably for other people.
If writing and maintaining this script is not the work you want to own, use Website Capture in Shotomatic when you want URL-list screenshots, per-page capture options, reviewable results, and exports without maintaining a Puppeteer script.
FAQ
Can Puppeteer automate website screenshots?
Yes. Puppeteer can launch a browser, open a URL, set the viewport, and save screenshots with page.screenshot().
Can Puppeteer take full-page screenshots?
Yes. Pass fullPage: true to page.screenshot() to capture the full scrollable page instead of only the visible viewport.
Can I capture multiple URLs with Puppeteer?
Yes. Keep one browser open, create a page or browser context for each URL, and add a concurrency limit for larger batches.
Is Puppeteer better than Playwright for screenshots?
Puppeteer is often simpler for Chrome-focused screenshot scripts. Playwright usually makes more sense when you need Chromium, Firefox, and WebKit coverage or a larger testing workflow.
When should I use Shotomatic instead of Puppeteer?
Use Shotomatic when the job is a no-code URL-list capture workflow that someone needs to run, review, and export without maintaining a JavaScript script.
References
The examples above were checked against the official docs:
- Puppeteer overview, installation, and configuration
- Puppeteer's screenshots guide,
Page.screenshot(), and ScreenshotOptions - Puppeteer's
BrowserContext,page.setViewport(),KnownDevices, andpage.emulate() - Puppeteer's
page.waitForSelector()andpage.waitForFunction() - Playwright's browser docs and library docs
Related posts
See more postsHow to Capture Website Screenshots in Bulk on Mac
Capture website screenshots in bulk on Mac with Shotomatic. Paste a URL list, choose desktop/tablet/mobile presets, run parallel capture, and export for audits or reports.
How to Archive Manga & Webtoons as PDFs on Mac (2026 Guide)
Step-by-step guide to archiving manga chapters and webtoon episodes as PDFs on macOS using automated screenshots. Covers page-based manga, vertical-scroll webtoons, and legal considerations.

How to Back Up Your Design Portfolio from Dribbble & Behance on Mac
Archive your design portfolio from Dribbble and Behance as high-quality, searchable PDFs on your Mac. Batch capture project pages at Retina resolution with automated screenshots.

How to Send Async Progress Updates with Screenshot Timelapse on Mac
Use screenshot timelapses to send async progress updates to clients, teammates, and stakeholders. Capture design and dev work on Mac, export as MP4 or GIF, and share in Slack or email — no meetings required.

Need no-code website screenshot automation?
Use Website Capture for URL-list screenshots, per-page capture options, reviewable results, and exports without maintaining a script.