How to Redact Sensitive Information from Tutorial Screenshots
Remove sensitive information from tutorial screenshots by choosing safe test data, crop, blur, or complete removal for each risk.
Sensitive information can appear in browser tabs, notifications, file paths, and thumbnails far outside the control you are documenting. Prevent it at capture time, inventory the remaining risk, choose crop, blur, or complete removal, export a safe copy, then review the exact file you plan to share.
TL;DR: Use sample data whenever possible. Crop irrelevant areas, fully obscure private details that must remain in context, and remove high-risk information instead of relying on a weak blur.
Use safe data before capture
The safest screenshot never contains the sensitive information. Use a test account, sample project, fictional names, neutral file paths, empty message history, and notifications disabled before starting the tutorial.
Capture-time cleanup also makes the guide more reusable. A sample account does not become outdated when an employee leaves or a customer asks for their data to be removed.
Check these sources before capture:
- menu bar and notification previews
- desktop and dock
- browser tabs, history, and profile
- recent files and folder paths
- account name and avatar
- form autofill and password managers
- chat, email, and customer records
- license, billing, and analytics details
Inventory every visible risk
The privacy review should cover more than the main instruction area. A small thumbnail, title bar, open tab, or notification may expose information even when the central panel is safe.
Classify each item by sensitivity and instructional value. A test email address may be harmless and useful. A real token has no instructional value and should never appear.
Choose sample data, crop, blur, or removal
The treatment depends on whether you control the source, need the surrounding interface, and can tolerate recovery risk.
| Method | Use it when | Limitation |
|---|---|---|
| Safe sample data | You control the capture state | Requires preparation before capture |
| Crop | The private area is irrelevant | Can remove navigation or app context |
| Blur | The surrounding interface must remain visible | A light effect may still reveal patterns or text |
| Solid cover or removal | The detail is high risk | Must be positioned carefully and flattened in export |
| Recapture | Several risky details are spread across the screen | Takes more time but often produces the cleanest source |
For passwords, tokens, payment details, health information, confidential customer records, and recovery codes, prefer prevention, recapture, or complete removal. Do not depend on an aesthetic blur that leaves character shapes visible.
Crop without losing task context
Cropping works when the private area does not help the reader complete the step. Remove unrelated browser tabs, file lists, desktop space, and account sidebars while keeping the app section and target label visible.
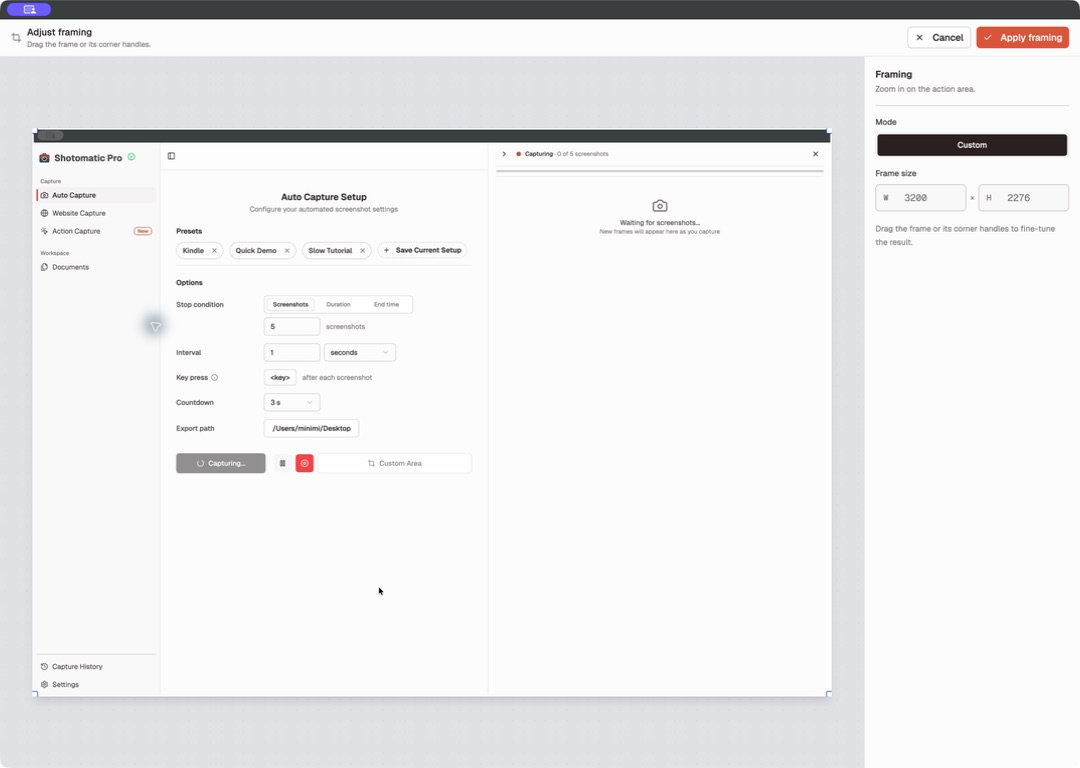
Use Action Focus or Framing when you want to control the visible area while preserving flexibility to adjust it later. Shotomatic Framing does not overwrite the source image, so export and inspect the final file before sharing it. Use a separate destructive crop tool only when the excluded pixels must not remain in your working source.
Apply blur to the exact sensitive area
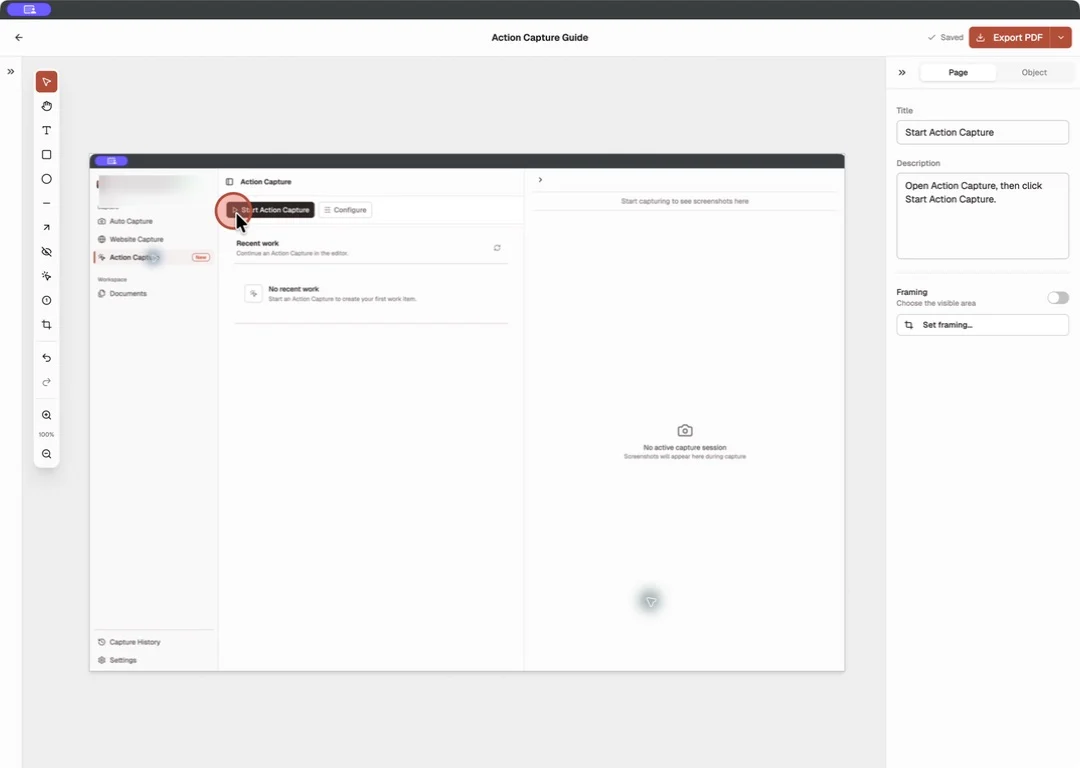
Blur should cover the full detail plus a small safety margin. Preview the image at full resolution because a mask that looks sufficient in a small editor window may reveal text when the exported file is opened or enlarged.
Keep blur separate from instructional annotations. A reader should not mistake the privacy treatment for the target they need to select.
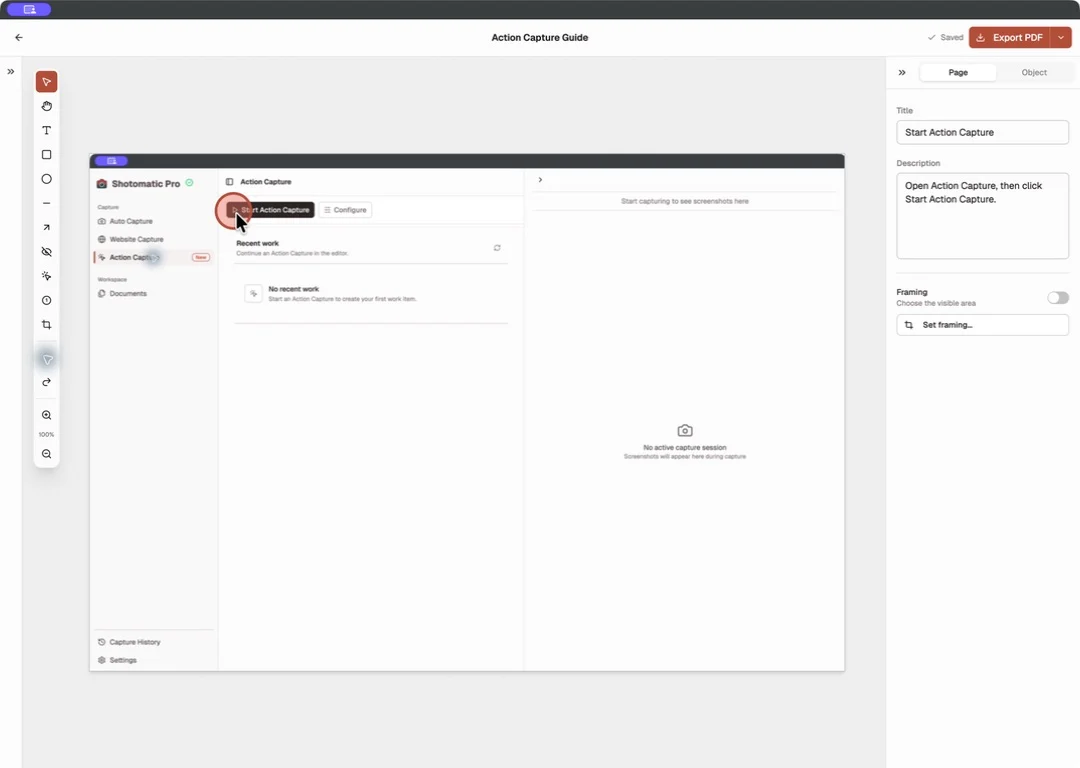
Shotomatic Pro includes Blur for details that must remain inside the frame. Free includes Framing and Action Focus, plus Text, shapes, Line, and Arrow. Use Framing when removing an entire area is enough; use Blur when the surrounding interface must remain visible.
Export a safe copy
The shared output should not contain an editable layer that exposes the original detail when a mark is moved or hidden. Export a flattened image or document and keep the source capture in a restricted location only when retention is necessary.
Use filenames that distinguish the reviewed output from the source, such as account-settings-step-03-redacted.png. Do not attach both versions to the same support ticket or public content folder. If the safe output will become a full guide, continue with the export and reader-review steps in How to Create a Step-by-Step Guide from Clicks on Mac.
Review the final shared version
The final review should inspect the exact file that will be published or sent. Check it at full size, as a thumbnail, and in the final PDF or help-center layout.
Use this checklist:
- no real passwords, tokens, recovery codes, or license keys
- no personal or customer details outside the instructional need
- no private browser tabs, paths, notifications, or thumbnails
- crop retains enough interface context
- blur or cover fully obscures the detail at full resolution
- alt text and captions do not repeat removed information
- source and safe output are stored separately
- a second person reviewed high-risk material
The screenshot is ready when the reader can follow the instruction without gaining access to information unrelated to the task. Use the free Image Redaction Tool for existing files, or Action Capture when the privacy pass belongs inside a captured guide. For mark placement after redaction, use How to Annotate Screenshots for Clear Instructions on Mac.
Frequently Asked Questions
Related posts
See more postsHow to Annotate Screenshots for Clear Instructions on Mac
Use click markers, arrows, shapes, text, crop, and blur to make instructional screenshots clear without covering important context.
How to Document a Bug with Step-by-Step Screenshots on Mac
Document a reproducible software bug on Mac with clear steps, screenshots, environment details, expected results, and useful evidence.
How to Create a Step-by-Step Guide from Clicks on Mac
Create a step-by-step guide on Mac by capturing meaningful clicks, marking each action, editing the steps, and exporting images or a PDF.
Best Guidde Alternatives for Visual Documentation in 2026
Compare Guidde alternatives for local screenshot guides, hosted documents, interactive guidance, desktop editing, video, and export.
Turn your clicks into a clear step-by-step guide
Action Capture records each click as an ordered step, then lets you edit and export the guide on your Mac.