How to Take Repeated Screenshots with Automator on Mac
Build an Automator screenshot workflow with Take Screenshot and Loop, then use a shell action when you need ordered files.
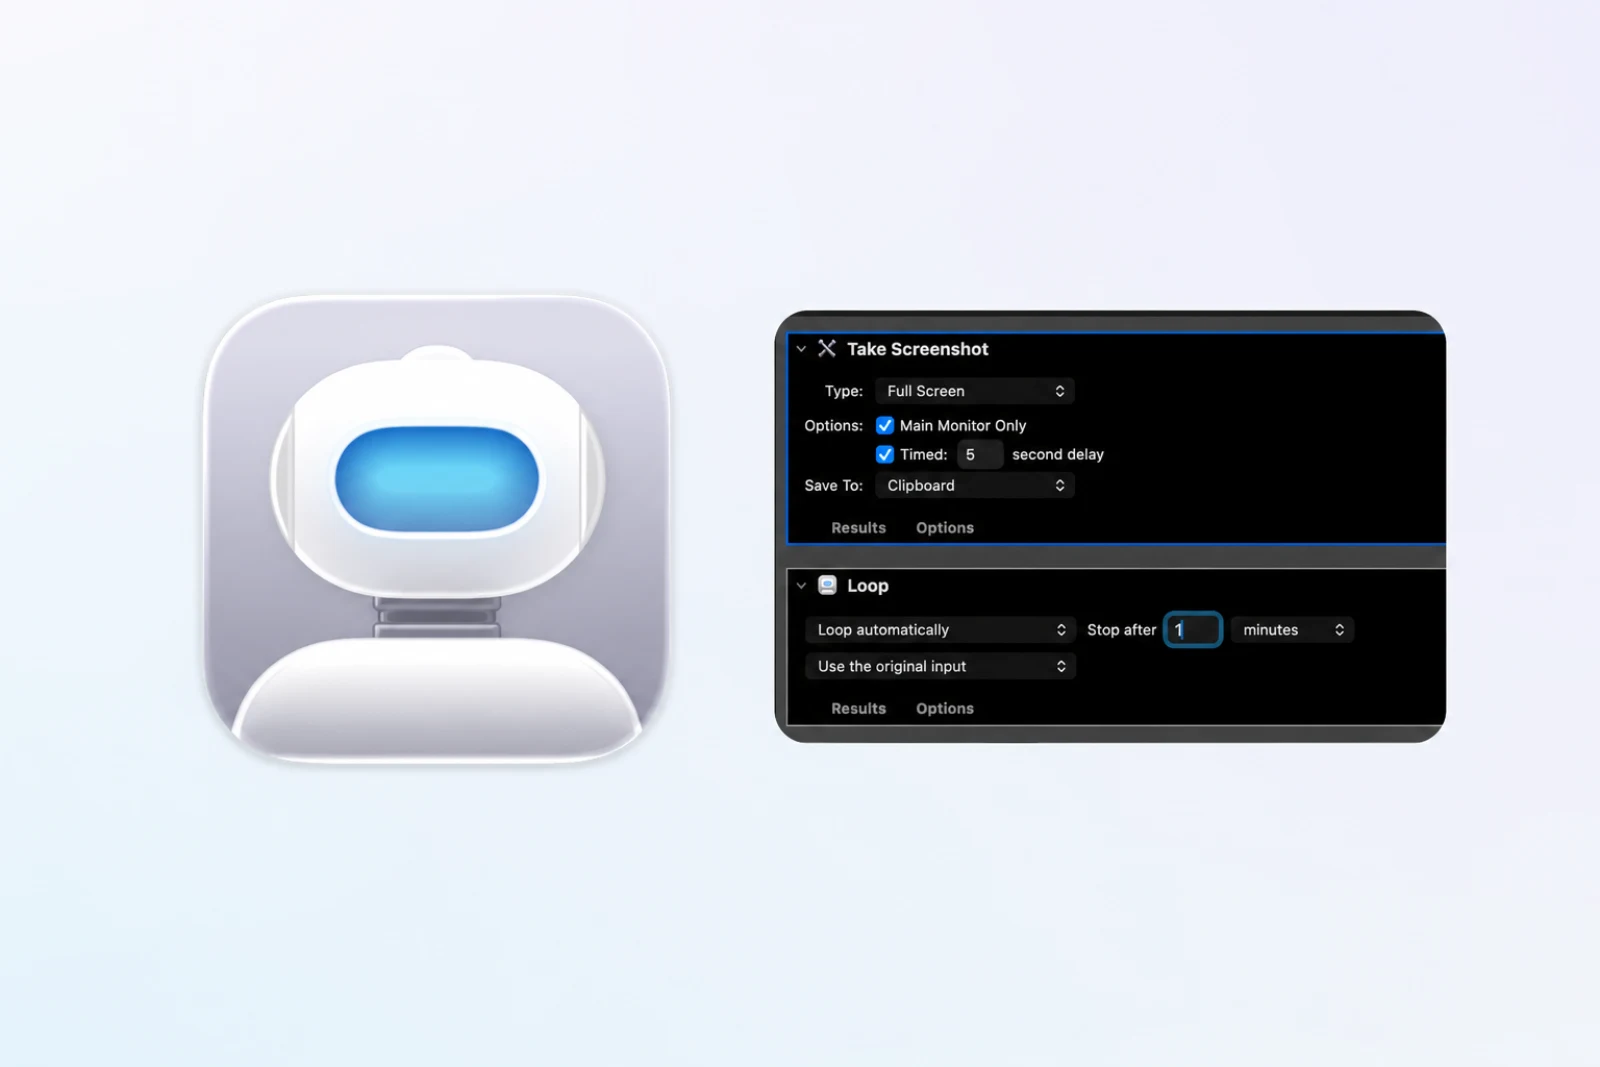
In this guide, you will build a repeated screenshot workflow in Automator. You will add Take Screenshot and Loop, test the result, use Run Shell Script when you need ordered files, and save the workflow as an app.
Check Automator's screen capture access
Automator needs screen capture access for this workflow. Open System Settings > Privacy & Security > Screen & System Audio Recording and enable Automator if it is already listed. If the first test triggers a permission request, approve it and reopen Automator when macOS asks.
Accessibility access is not needed for Take Screenshot or screencapture alone. It becomes relevant only if the workflow sends keys or controls another app.
Choose native actions or a shell action
Choose the route before adding actions. Native actions keep the setup visual; the shell route gives each pass its own file and supports fixed coordinates.
| Need | Better Automator route |
|---|---|
| Learn the workflow visually | Take Screenshot + Loop |
| Choose a timed full-screen or interactive capture | Take Screenshot |
| Save every pass as a separate file | Run Shell Script + Loop |
| Capture a fixed rectangle | Run Shell Script with -R |
| Use sequential numbers or an exact frame count | Command-line shell loop |
| Stop after a broad time limit | Loop action |
Option 1: use Take Screenshot and Loop
Create a workflow
- Open Automator.
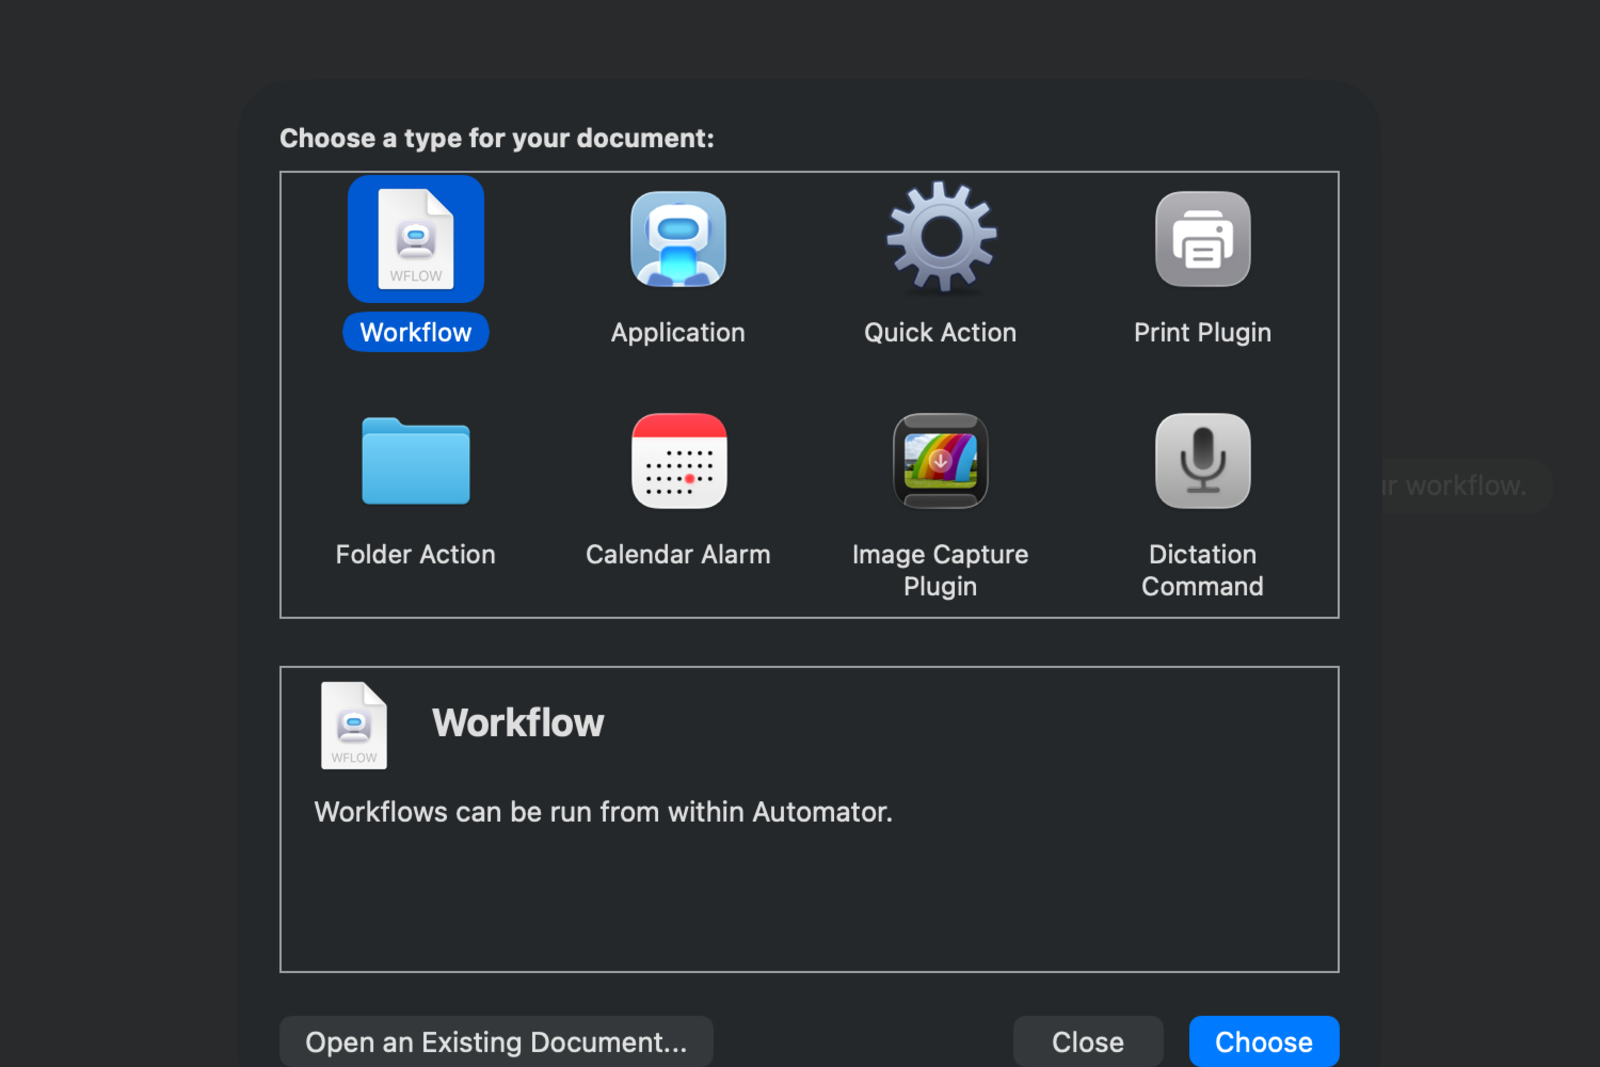
- Choose Workflow while testing.
Find the Take Screenshot action
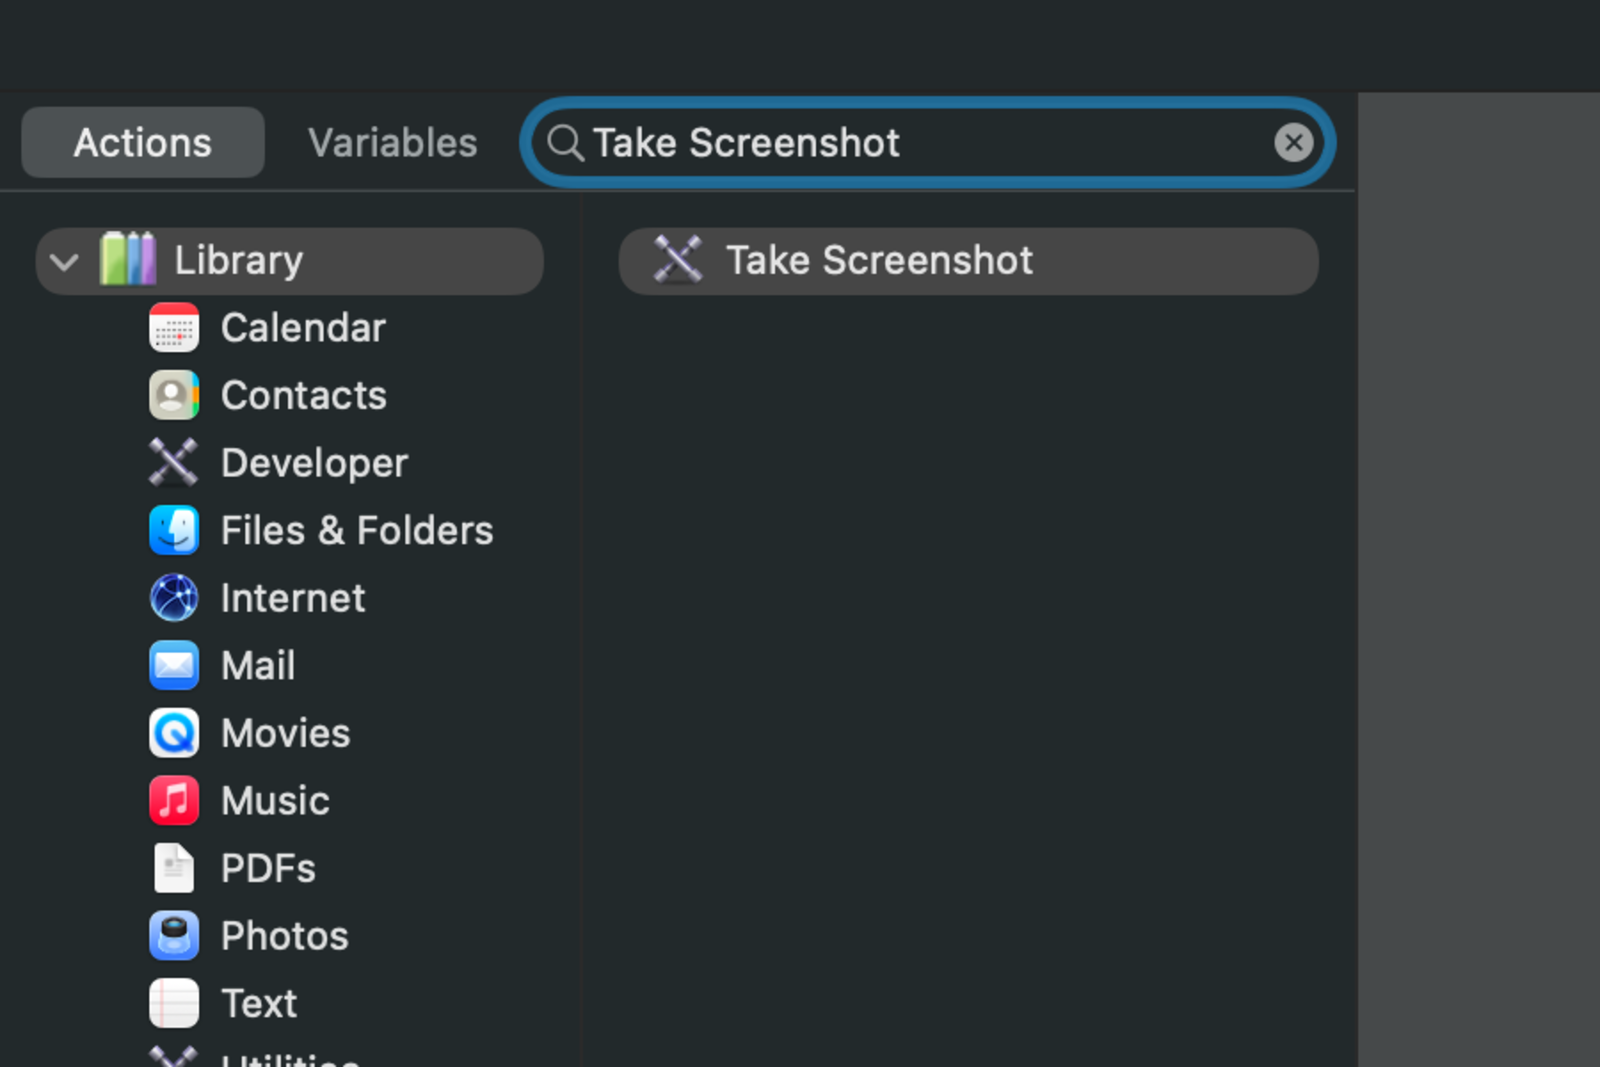
- Search for Take Screenshot in the Actions library.
- Double-click the result or drag it into the workflow area.
Configure the screenshot and Loop actions
- Choose the screenshot type and whether to use a timed delay.
- Choose where the result should go.
- Add Loop after Take Screenshot.
- Select Loop automatically and set a short stop duration for the first test.
- Click Run.
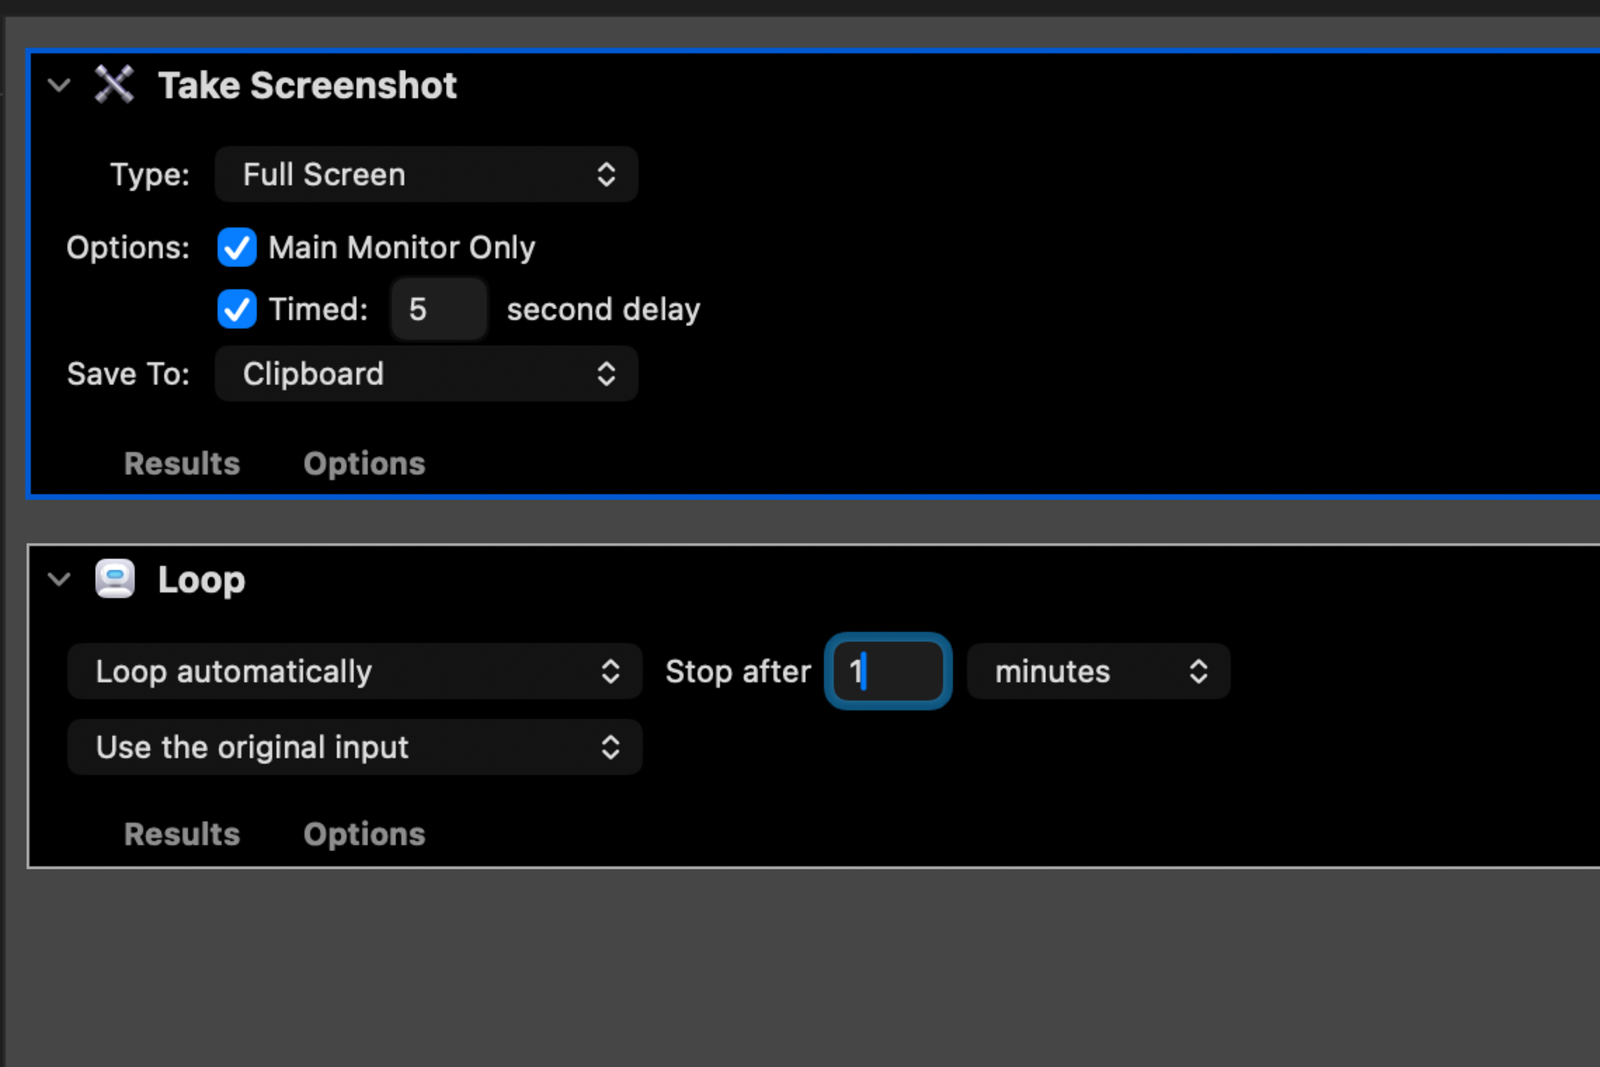
Apple's Loop action repeats the actions that come before it. A one-minute limit is safer than an open-ended first run.
The native workflow is useful for learning the flow and for simple visual automations. Pay close attention to the destination. If Take Screenshot saves to the clipboard, every loop replaces the previous clipboard image. You will have only the latest capture at the end.
To keep a full sequence, choose a destination or downstream action that writes each result to disk, then inspect the first three files from the one-minute test. Use the shell route below when each pass needs its own sortable file. For exact names such as frame-001.png, use a command-line shell loop.
Option 2: combine Run Shell Script with Automator's Loop
Apple documents Automator's Run Shell Script action. A short one-capture script pairs well with Automator's own Loop action:
- Create another Workflow.
- Search for Run Shell Script and add it.
- Set Shell to
/bin/zsh. - Paste the script.
- Add Loop after Run Shell Script.
- Select Loop automatically and stop after one minute for the test.
- Click Run and inspect the output folder.
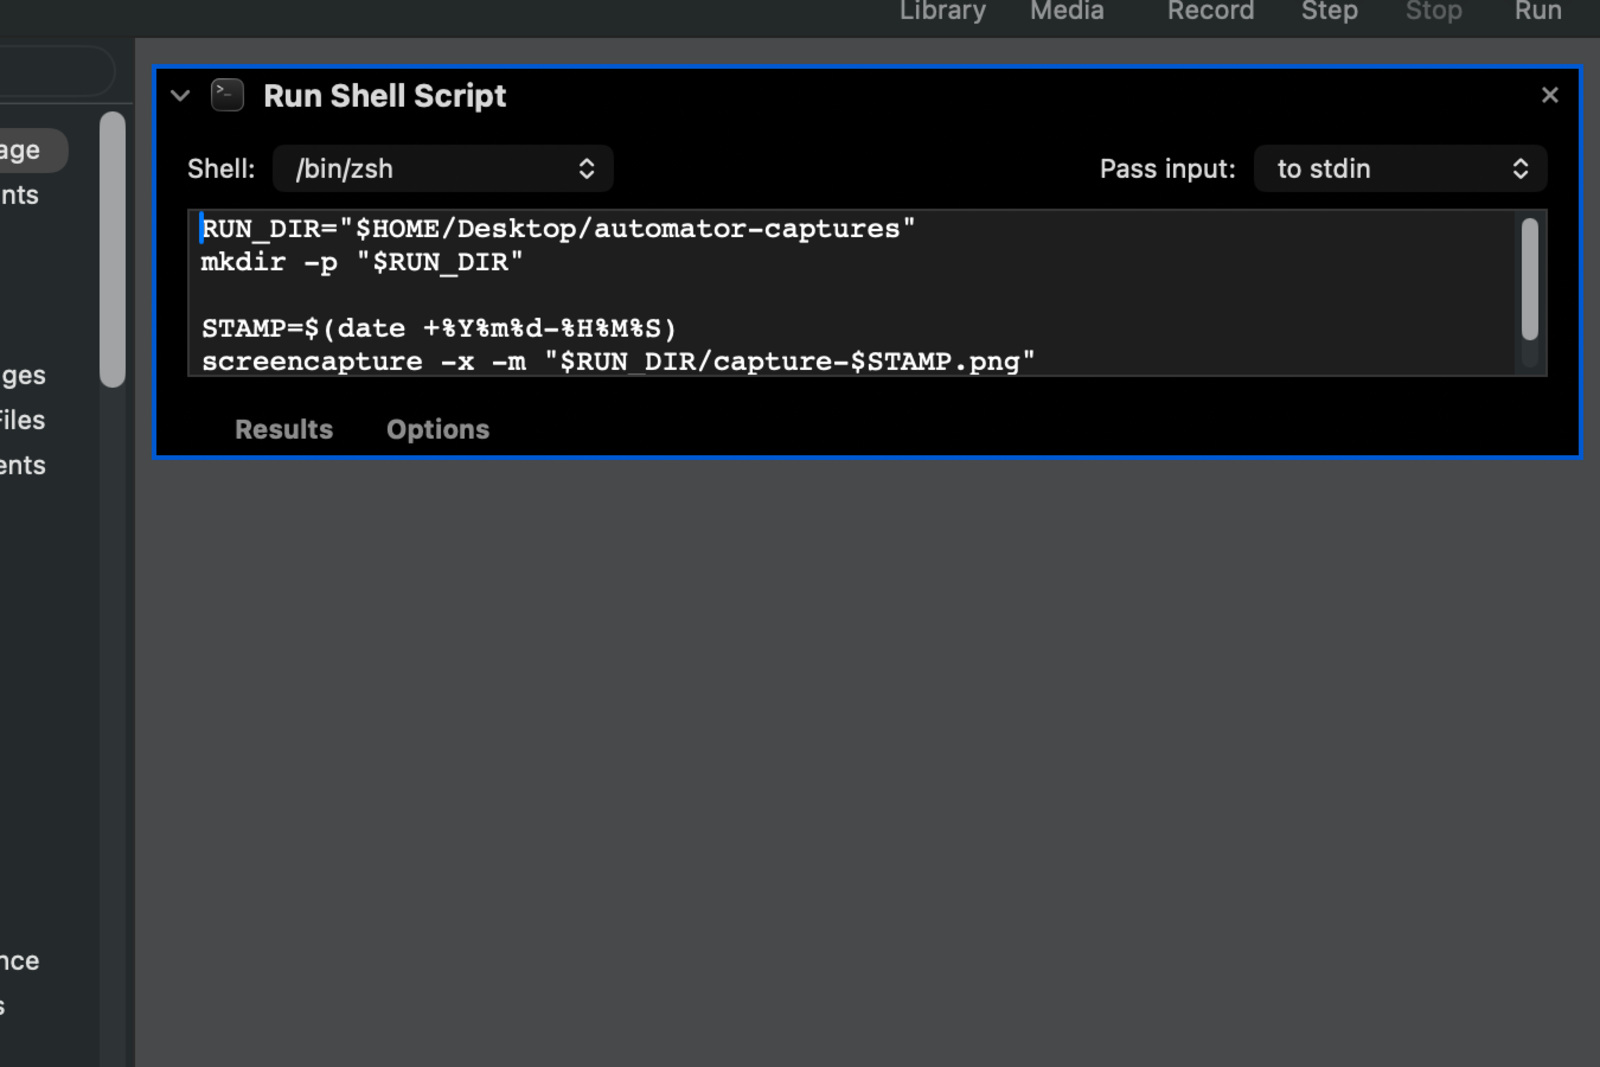
/bin/zsh, then paste the complete script shown below.RUN_DIR="$HOME/Desktop/automator-captures"
mkdir -p "$RUN_DIR"
STAMP=$(date +%Y%m%d-%H%M%S)
screencapture -x -m "$RUN_DIR/capture-$STAMP.png"
sleep 5
Each pass saves one main-monitor screenshot with a timestamp, waits five seconds, and lets Loop run the workflow again. The timestamps keep the files in chronological order, but they are not sequential frame numbers.
Automator's Loop gives you an approximate time limit. Use the command-line route when you need an exact frame count or names such as frame-001.png.
For more screencapture flags, formats, page turns, and long-run controls, see the Mac command-line screenshot guide.
Save a reusable Automator app
Automator document types are chosen when you create a document. After the Workflow behaves correctly, create an Application document, copy the tested actions into it, and save it with a specific name such as Dashboard Screenshot Run.
A double-clickable app is convenient, but it can also start a capture immediately. Keep the first delay long enough to arrange the target window, and make the output folder obvious in the workflow.
Troubleshoot the workflow
| Problem | Fix |
|---|---|
| Only the latest screenshot remains | Do not loop a clipboard-only destination; preserve each result or use timestamped shell output |
| Blank screenshot | Allow Automator under Screen & System Audio Recording, reopen, and retry |
| Workflow repeats longer than expected | Set a short Loop stop duration while testing |
| Shell output overwrites old images | Keep the timestamp in every file name; use a single shell loop if you need sequential numbers |
| Wrong area is captured | Reposition the window, update -R, and run three frames |
| Workflow appears frozen | A timed or interactive screenshot may be waiting for input; check the screen and Automator log |
When Automator isn't enough
Automator works well for a small number of stable workflows. A dedicated capture app may be easier to manage when each run needs a different window, keypress controls, a new frame count or duration, a review step, or another export format.
If you would rather adjust those controls in one interface, Shotomatic keeps the capture setup, frame review, and export together. See how Shotomatic handles screenshot automation on Mac. If your main goal is an ordered document, see save screenshots as a PDF on Mac.
FAQ
Can Automator take repeated screenshots on Mac?
Yes. Add Take Screenshot followed by Loop. This is useful for a visual workflow, while a shell action can save each pass as a separate, timestamped file.
Why does an Automator screenshot workflow keep only one clipboard image?
Each loop replaces the previous clipboard contents. Save each capture to a unique file or use a Run Shell Script action for a timestamped sequence.
Should I use Automator's Loop action or a shell loop?
Use Loop to keep the workflow visual. Use a shell loop when file names, frame counts, capture coordinates, and timing need to stay together.
Can I save the workflow as an app?
Yes. Create an Application document from the start, or recreate the tested workflow as an Application for double-click launching.
Related posts
See more postsHow to Automate Screenshots on Mac with Built-In Tools
Automate screenshots on Mac with screencapture, Automator, or Shortcuts, including permissions, safe loops, and troubleshooting.
Automate Screenshots on Mac with the Command Line
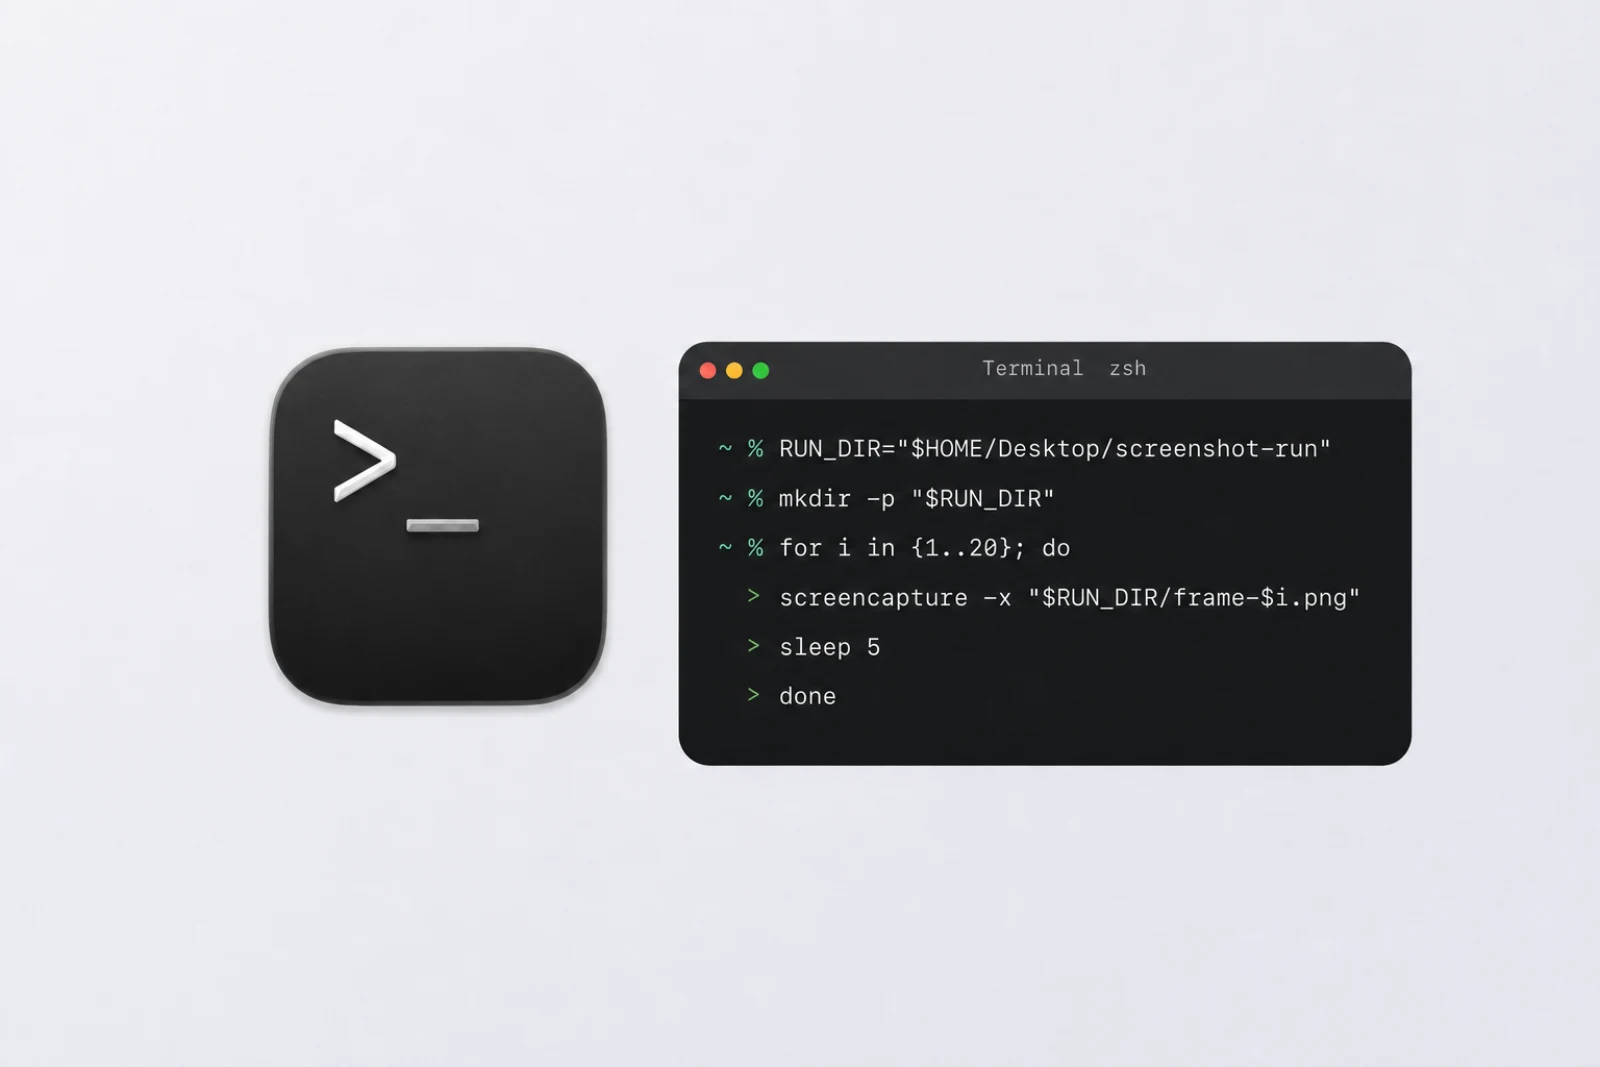
Use macOS screencapture loops for full-screen, fixed-area, and page-turn screenshots, with safe file names and troubleshooting.
Automate Screenshots with the Apple Shortcuts App on Mac
Build a Mac Shortcuts screenshot routine, run it from a personal automation trigger, and fix scripting or screen recording permissions.
How to Screenshot on Mac: Built-In vs Third-Party Apps
When third-party screenshot software beats Mac's built-in tool, and when Cmd+Shift shortcuts are enough. Compare CleanShot X, Snagit, and Shotomatic.

Turn repeatable screenshots into finished work
Shotomatic captures, organizes, and exports screenshot sessions on your Mac.