Best Screenshot Automation Tools for Mac (2026)
Compare Shotomatic, Snagit, and CleanShot X for interval captures, click-by-click guides, website batches, searchable PDFs, and manual screenshots.
You need an automated screenshot tool when the job is bigger than one clean capture. You may need a frame at fixed intervals, one screenshot for each click in a guide, or the same settings applied to a list of website URLs. Normal screenshot shortcuts turn those jobs into repetitive work.
The best choice depends on the trigger and the output. Shotomatic covers interval capture, click-driven guides, URL-list website capture, and local exports. Snagit combines step capture with a broad documentation editor and cross-platform support. CleanShot X is strongest when the job begins with a manual screenshot or recording.
TL;DR: Choose Shotomatic for repeated captures, click-by-click guides, website batches, searchable PDFs, or timelapses on Mac. Choose Snagit for cross-platform step capture and documentation. Choose CleanShot X for fast manual screenshots, markup, recording, and sharing.
If you already know you need repeated capture rather than a general comparison, start with screenshot automation on Mac.
Quick answer: best automated screenshot tool by job
| Your main job | Best starting point | Why |
|---|---|---|
| Capture screenshots at fixed intervals | Shotomatic | Auto Capture saves an ordered local session at the interval you choose. |
| Turn clicks into a step-by-step guide | Shotomatic or Snagit | Both support click-driven steps; their editors and delivery models differ. |
| Capture a list of website pages | Shotomatic | Website Capture applies repeatable settings to public URLs in a batch. |
| Archive permitted pages as searchable PDFs | Shotomatic | Keypress automation and PDF OCR support ordered page sequences. |
| Create polished single screenshots | CleanShot X | Its manual capture, annotation, recording, and sharing tools fit one-off work. |
| Build cross-platform documentation | Snagit | Step Capture, templates, annotation, Mac and Windows support fit documentation. |
If your main job is capturing many website pages from a URL list, also read how to capture multiple web pages as screenshots in batch on Mac or start with website screenshot automation. If you want a Mac app for repeated captures across apps, documents, websites, and timelapses, the product workflow is screenshot automation on Mac. If you are still using Apple's shortcuts for everything, read the comparison of the built-in Mac screenshot tool vs third-party apps first.
What to compare
Start with the capture job. A manual-first app is enough when you need one polished screenshot with markup or a sharing link. An automation tool should support a repeatable session with a target, interval or trigger, ordered results, and a useful export.
The comparison below separates repeated capture from faster manual capture. If you are still deciding whether you need automation at all, read What Is Screenshot Automation on Mac?.
Compare the three tools
1. Shotomatic: interval, click, and URL-list capture on Mac
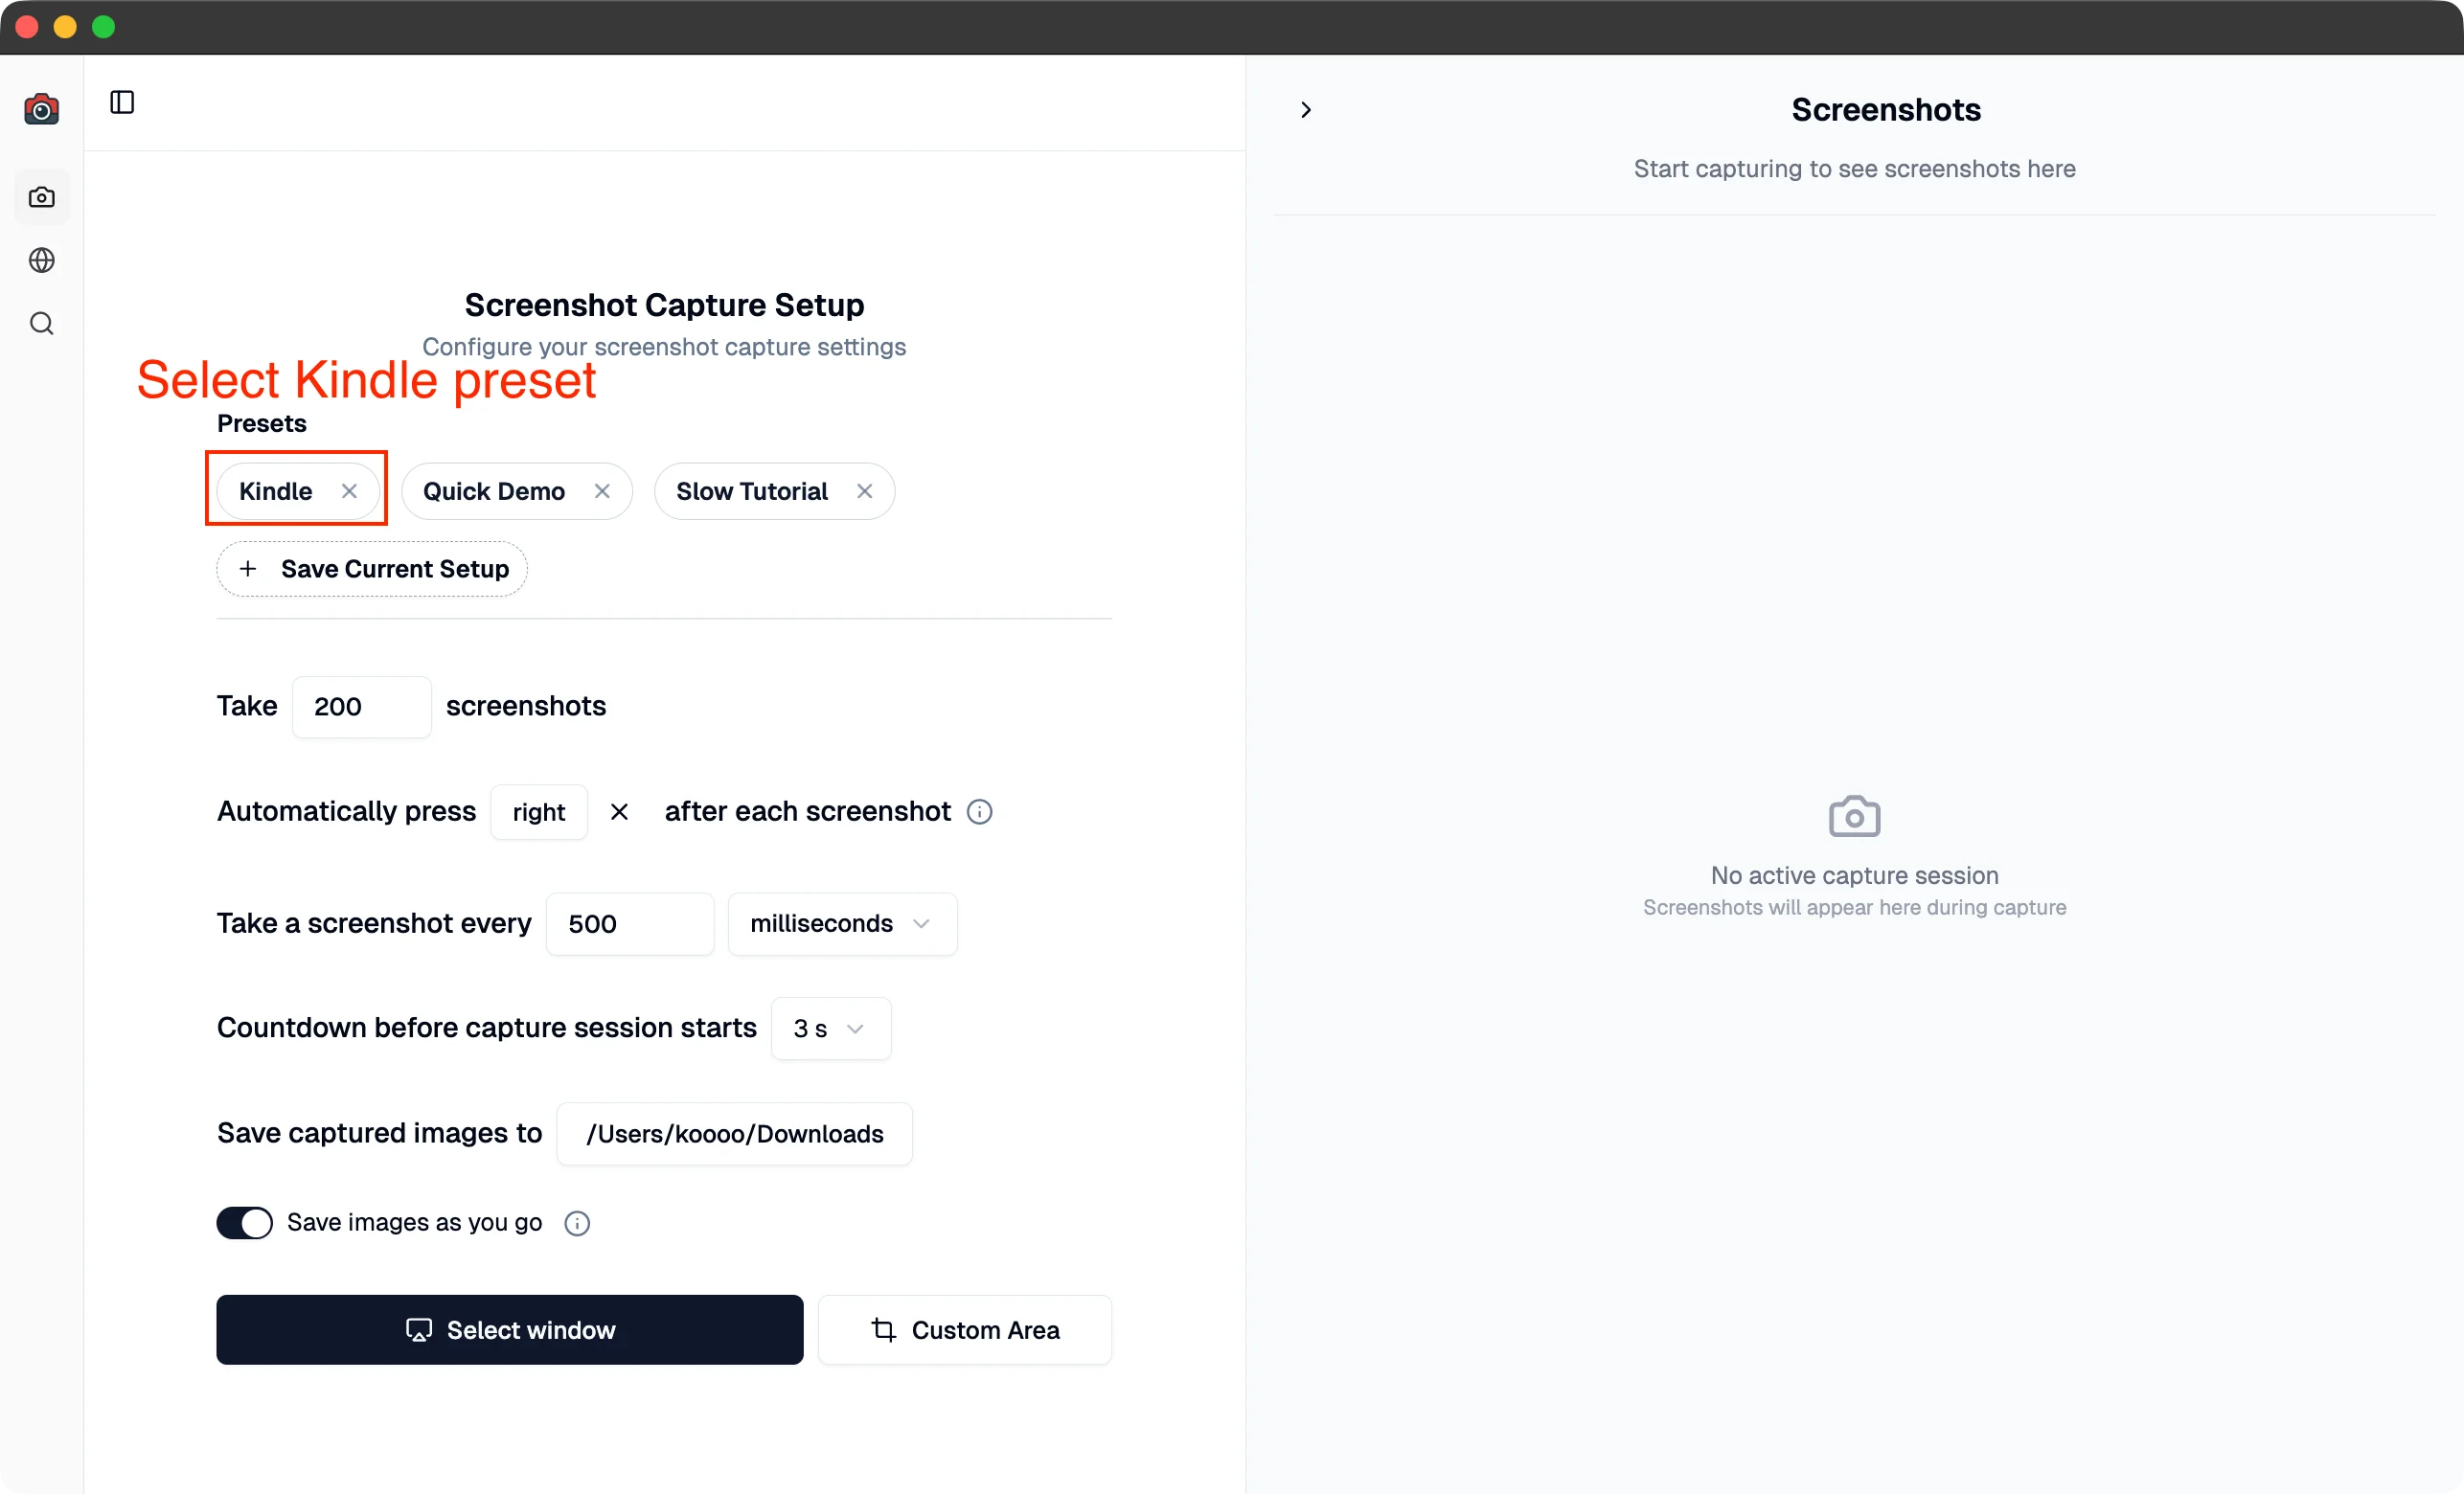
What it is: A macOS app with separate workflows for interval capture, click-driven guides, and URL-list website capture.
Best for: Repeated Mac captures, local visual archives, step-by-step guides, website batches, searchable PDFs, and timelapses.
Automation features:
- Keypress macros: Simulate arrow keys and page turns between captures. This is still rare in mainstream screenshot tools.
- Timed intervals: Configure capture intervals in milliseconds, seconds, or minutes.
- Window targeting: Select a specific window to capture and focus it when the session starts.
- Custom area capture: Define a precise region of the screen to capture repeatedly.
- Action Capture: Save the target state before accepted clicks and edit the ordered pages as a guide.
- Website Capture: Apply viewport or full-page settings to a list of public URLs.
- Searchable PDF OCR: Add a text layer while exporting a screenshot sequence as PDF.
- Preset workflows: Use built-in presets for Kindle, manga, and other paginated content.
- Timelapse MP4 export: Turn screenshot sequences into videos.
Cons:
- No Windows version
- No built-in hosted team workspace
- No unattended Website Capture scheduler
Bottom line: Shotomatic fits Mac workflows where the result should stay reviewable as an ordered local session or exported file. See screenshot automation on Mac, Action Capture, or Website Capture for the three trigger models.
2. Snagit: enterprise documentation and capture
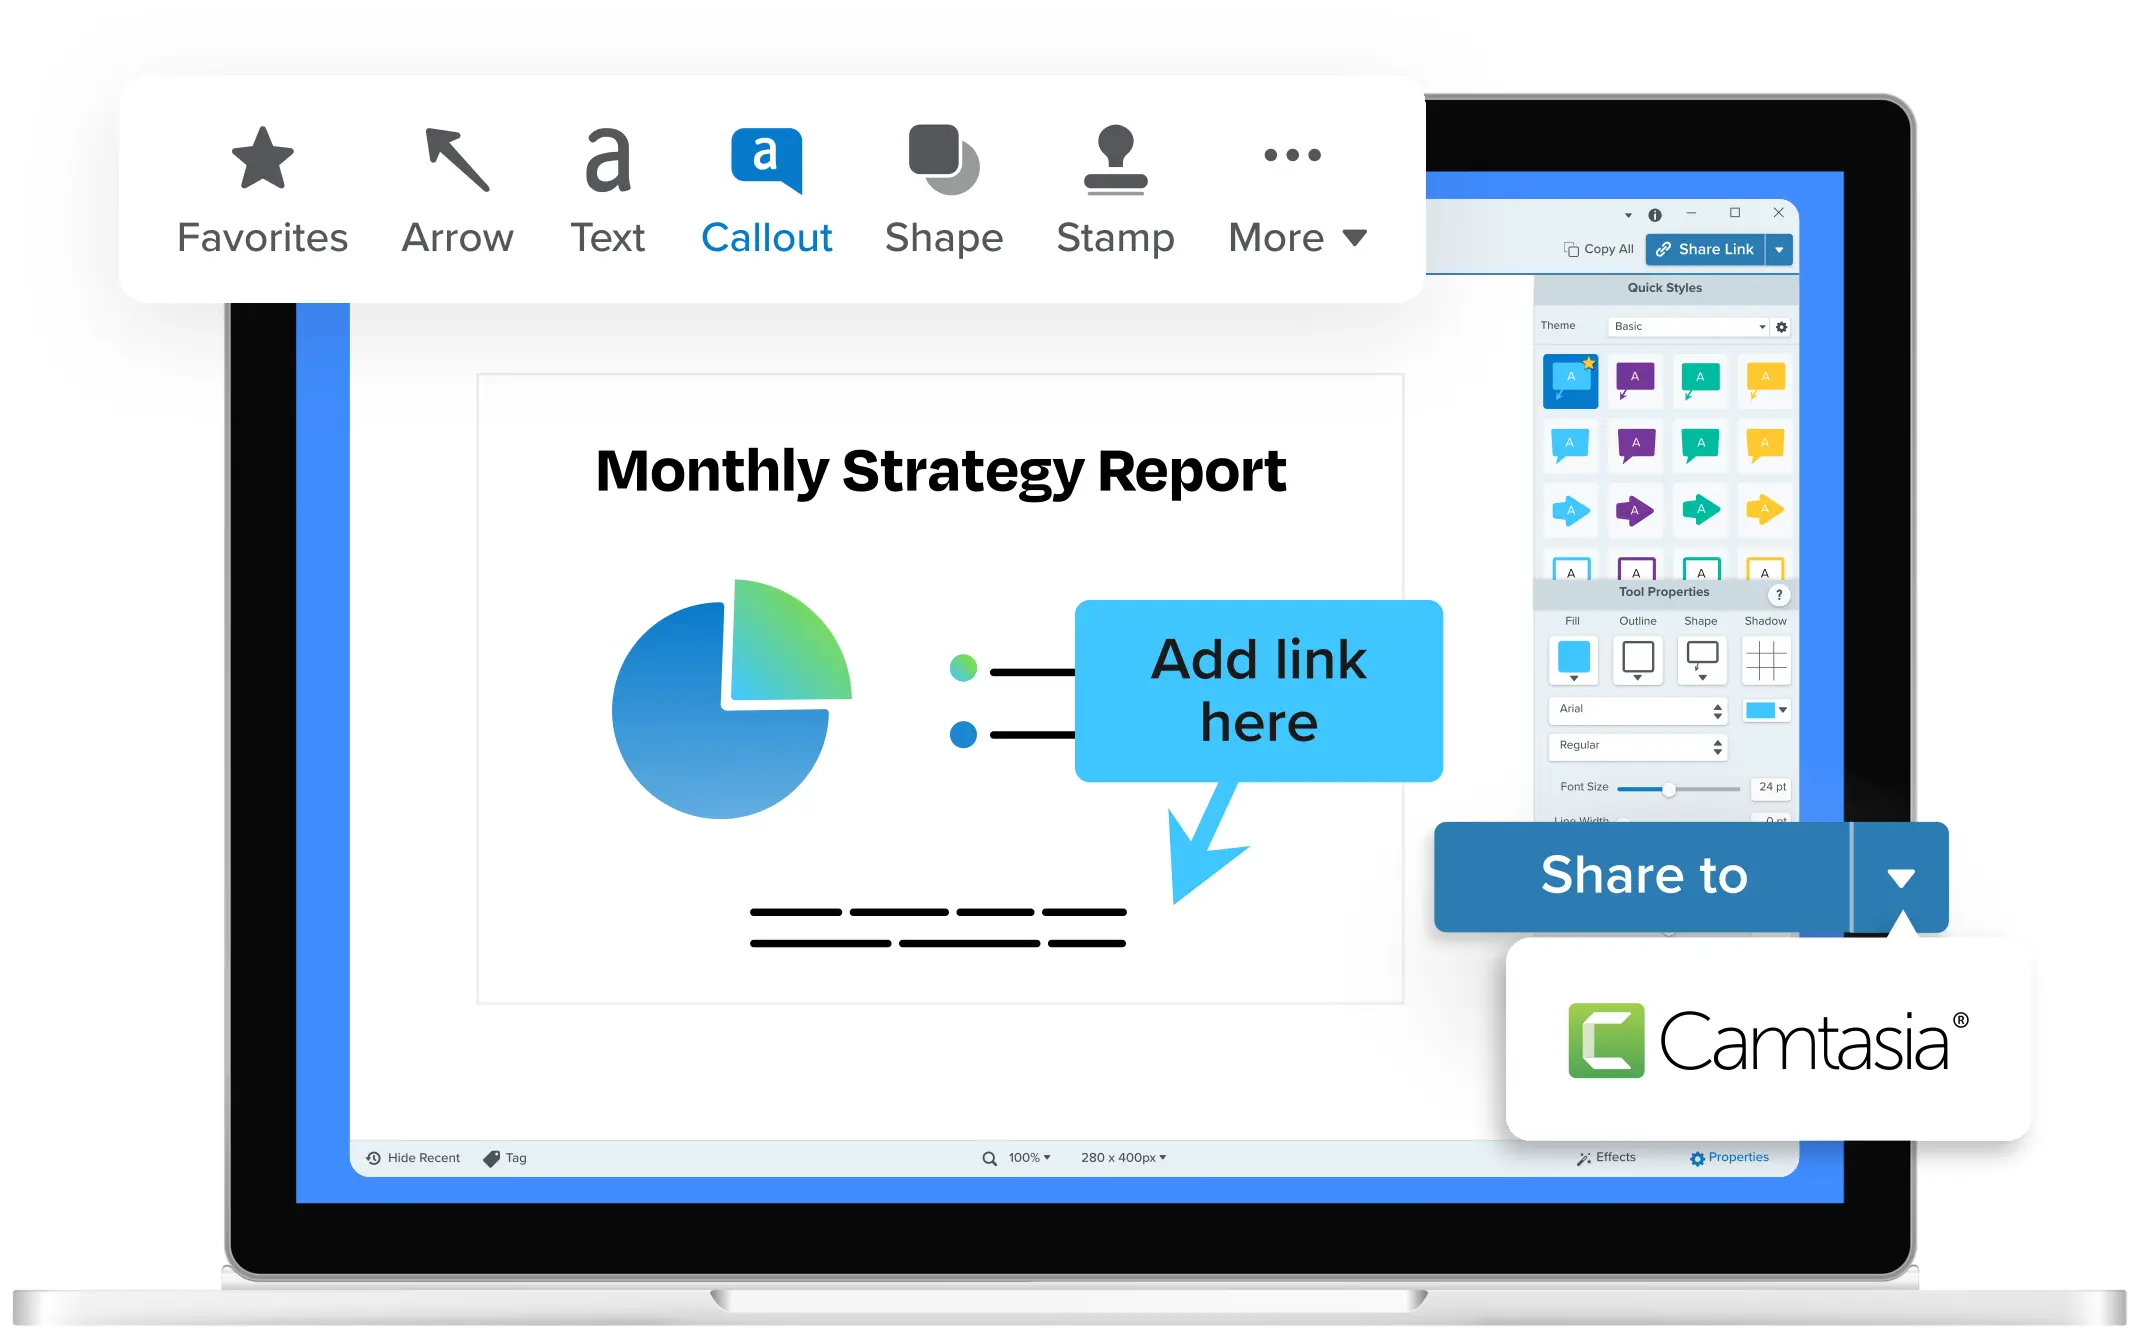
What it is: A mature cross-platform screen capture tool with extensive features for teams and professionals.
Best for: Corporate documentation, technical writing teams, and users who need annotation-heavy workflows and integrations.
Automation features:
- Step capture mode: Generate visual step-by-step guides based on clicks.
- Batch image editing: Apply edits across multiple screenshots.
- Video recording with editing: Record and edit screen recordings in one tool.
- Sharing and libraries: Keep captures available for team documentation workflows.
- Integrations: Useful when screenshots need to move into existing team tools.
Cons:
- No keypress simulation for automating app interactions between captures
- More product surface than many solo Mac automation workflows need
- Overkill for simple automation needs
- Steeper learning curve
Bottom line: Best for enterprise teams that need screen capture, annotation, and documentation features across Windows and Mac.
3. CleanShot X: Mac speed and polish
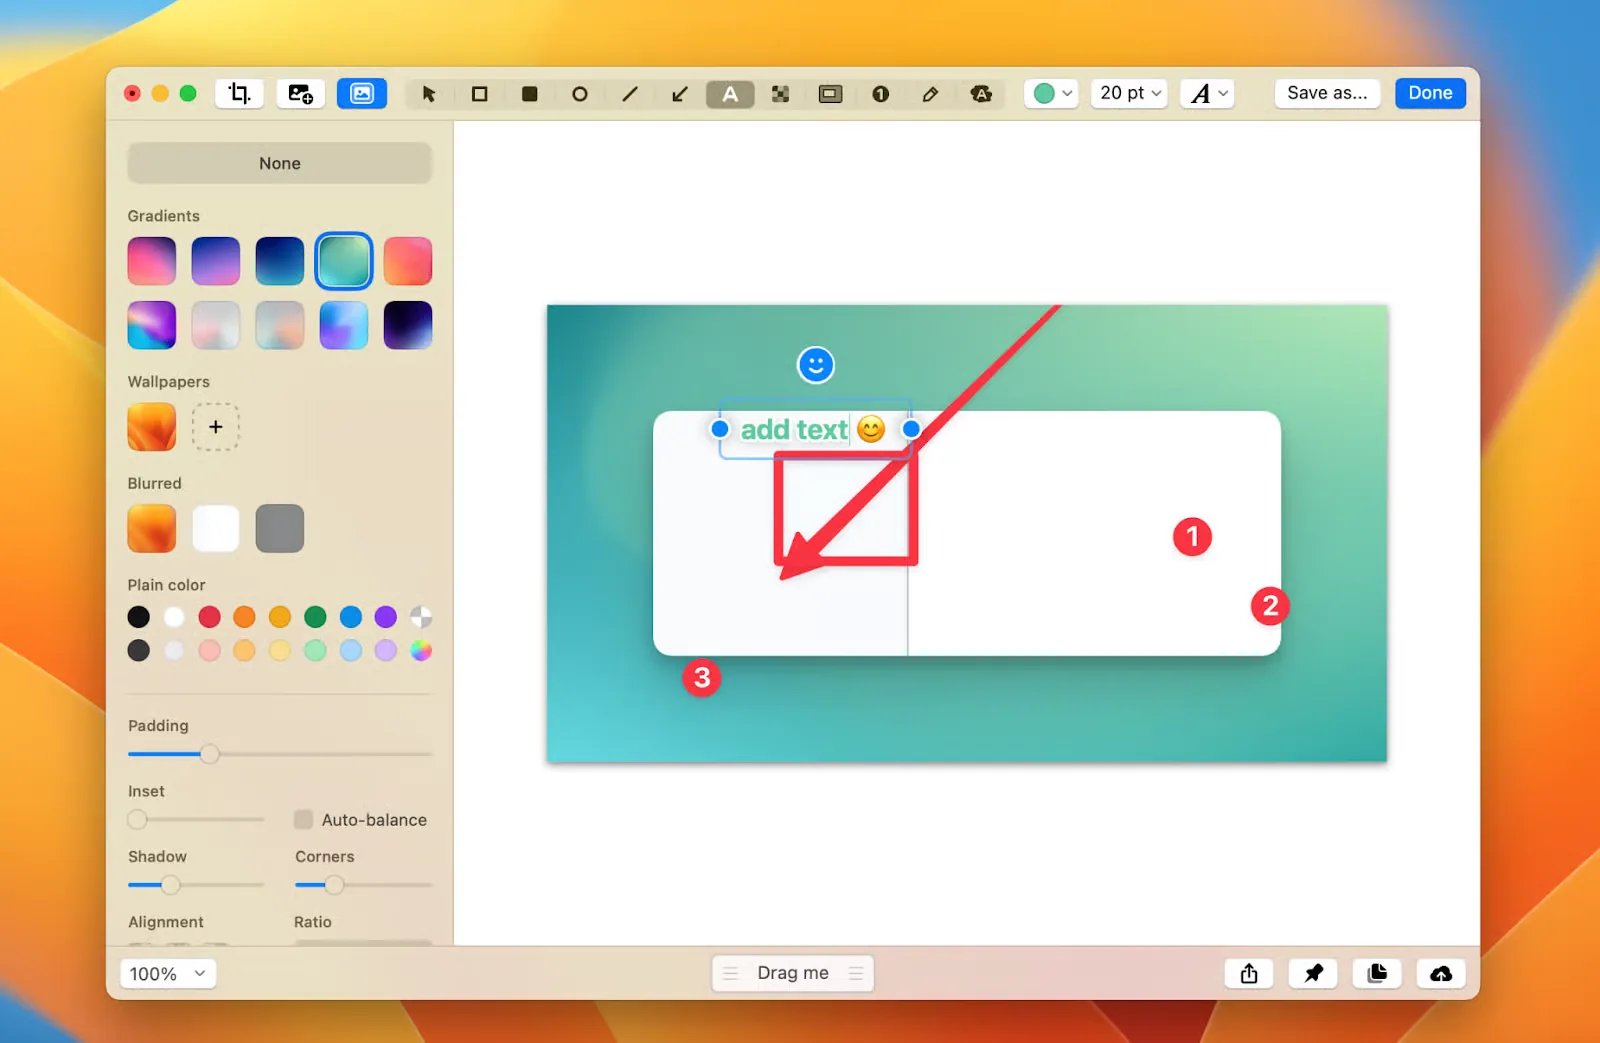
What it is: A polished Mac app focused on quick manual captures, annotation, recording, and sharing.
Best for: Designers and power users needing fast manual screenshots with instant annotations and cloud sharing.
Automation features:
- Scrolling capture: Capture long pages that extend beyond the visible screen.
- Delayed capture timer: Use a self-timer for setup shots.
- Screen and GIF recording: Record quick visual clips for sharing.
- Quick annotation overlay: Mark up screenshots immediately after capture.
Cons:
- Automation is minimal (no scheduling or keypress simulation)
- Designed for manual workflows, not bulk automation
- Cloud sharing is a separate part of the product experience
Bottom line: Best for users who primarily take manual screenshots but want strong UX, annotation, recording, and sharing. It is not the best fit if repeated automation is the main job.
Quick comparison table
| Feature | Shotomatic | Snagit | CleanShot X |
|---|---|---|---|
| Platform | Mac | Mac and Windows | Mac |
| Click-driven guide capture | Action Capture | Step Capture | No dedicated guide mode |
| Interval capture | Yes | Windows-only time lapse | Self-timer only |
| URL-list website capture | Yes | Not documented | Not documented |
| Long-page capture | Website full-page capture | Scrolling capture | Scrolling capture |
| Motion output | MP4 timelapse | Video and GIF | Video and GIF |
| Hosted sharing | No built-in workspace | Screencast | CleanShot Cloud |
| Annotation | Document editor with plan controls | Broad annotation toolkit | Broad annotation editor |
Which tool should you choose?
If you're archiving e-books, manga, or paginated content:
Use Shotomatic because keypress automation can handle page turns automatically.
If you're creating step-by-step documentation:
Use Shotomatic for a local Mac capture-to-document workflow. Use Snagit when Mac and Windows support, templates, and its broader documentation toolset matter more.
If you need quick, polished manual screenshots:
Use CleanShot X when speed, markup, recording, and sharing are the main jobs.
If you're creating timelapse videos of your work:
Use Shotomatic for MP4 timelapse export from screenshot sessions, or Snagit if you want video recording and editing.
If you need screenshots from a list of website pages:
Use Shotomatic for URL-list capture, device presets, and viewport or full-page website screenshots.
If you're on a team with cross-platform needs:
Use Snagit because it supports Windows and Mac.
Tips before you automate
A few things worth knowing before you set up your first automation workflow:
- Check for DRM first: Some apps, including streaming services, may block screen capture. Test with a single screenshot before setting up a long session.
- Start with a small test run: Run 3-5 captures first to check timing, window focus, and image quality before committing to a longer session.
- Check the rules for the content: Personal documentation and redistribution are different situations. When in doubt, check the relevant terms or get legal advice.
- Compare the OCR result, not the label: Shotomatic adds searchable text during PDF export. Snagit and CleanShot X provide text-recognition tools for working with text inside screenshots.
Frequently Asked Questions
Related posts
See more postsCan You Download Kindle Books as PDF? Official Options on Mac
Check whether a Kindle purchase has Amazon's official EPUB or PDF download, what offline access means, and how to save notes without bypassing DRM.

How to Screenshot on Mac: Built-In vs Third-Party Apps
When third-party screenshot software beats Mac's built-in tool, and when Cmd+Shift shortcuts are enough. Compare CleanShot X, Snagit, and Shotomatic.

How to Take Website Screenshots Automatically on Mac
Take website screenshots automatically on Mac from a URL list. Capture full pages or viewport shots for audits, archives, and recurring checks.
What Is Screenshot Automation on Mac?
What screenshot automation means on Mac, how it differs from manual screenshots and screen recording, and when a dedicated capture workflow starts to matter.
Turn repeatable screenshots into finished work
Shotomatic captures, organizes, and exports screenshot sessions on your Mac.