How to Send Async Progress Updates with Screenshot Timelapse on Mac
Use screenshot timelapses to send async progress updates to clients and teammates. Capture design and development work on Mac, review the frames, export MP4, and share it with a short written update.

This guide shows how to turn a Mac work session into a short async progress update. You will capture timed screenshots, review the frames, export an MP4, and share it with a one-line summary.
Use this format when the viewer needs to see visual progress but does not need exact timing, narration, or an explanation of every decision.
TL;DR: Capture the work window at intervals, remove private or unhelpful frames, export a short MP4, and share it with a sentence that explains the session.
When a timelapse works for async updates
Text is good for decisions, blockers, and next steps. It is less useful when the change is mainly visual. "Finished the hero section layout" says what happened, but it does not show the iterations that led to the result.
Screenshots help, but sending 15 screenshots in a Slack thread is noisy. The recipient has to click through each one, reconstruct the order, and guess the timeline.
A short timelapse keeps the sequence in one file. The recipient can watch the progress, then use the accompanying message for decisions and context that are not visible in the video.
Who benefits most
Freelancers and contractors. A weekly timelapse gives clients a visual update and a specific frame they can reference when leaving feedback.
Remote engineering teams. Async standups work better with visuals. Instead of "worked on the dashboard refactor," you drop a 40-second timelapse showing the before, the intermediate states, and the current result.
Founders updating investors or advisors. A 60-second product timelapse is more compelling than a paragraph of text. It shows momentum.
Design teams. A timelapse can show the iterations that are missing from the final mockup.
Create an async progress timelapse
Step 1: Choose your interval
The interval depends on how fast things change visually in your work.
| Work type | Recommended interval | Why |
|---|---|---|
| UI/UX design | 5-10 seconds | Design tools change meaningfully with each action |
| Frontend development | 10-15 seconds | Code changes are less visually dramatic |
| Writing/content | 15-30 seconds | Text changes are incremental |
| All-day monitoring | 30-60 seconds | Keeps file size manageable over long sessions |
A shorter interval gives smoother playback but more frames to review. A longer interval gives a more compressed summary but might miss intermediate states. For most async updates, 10 seconds is a good default.
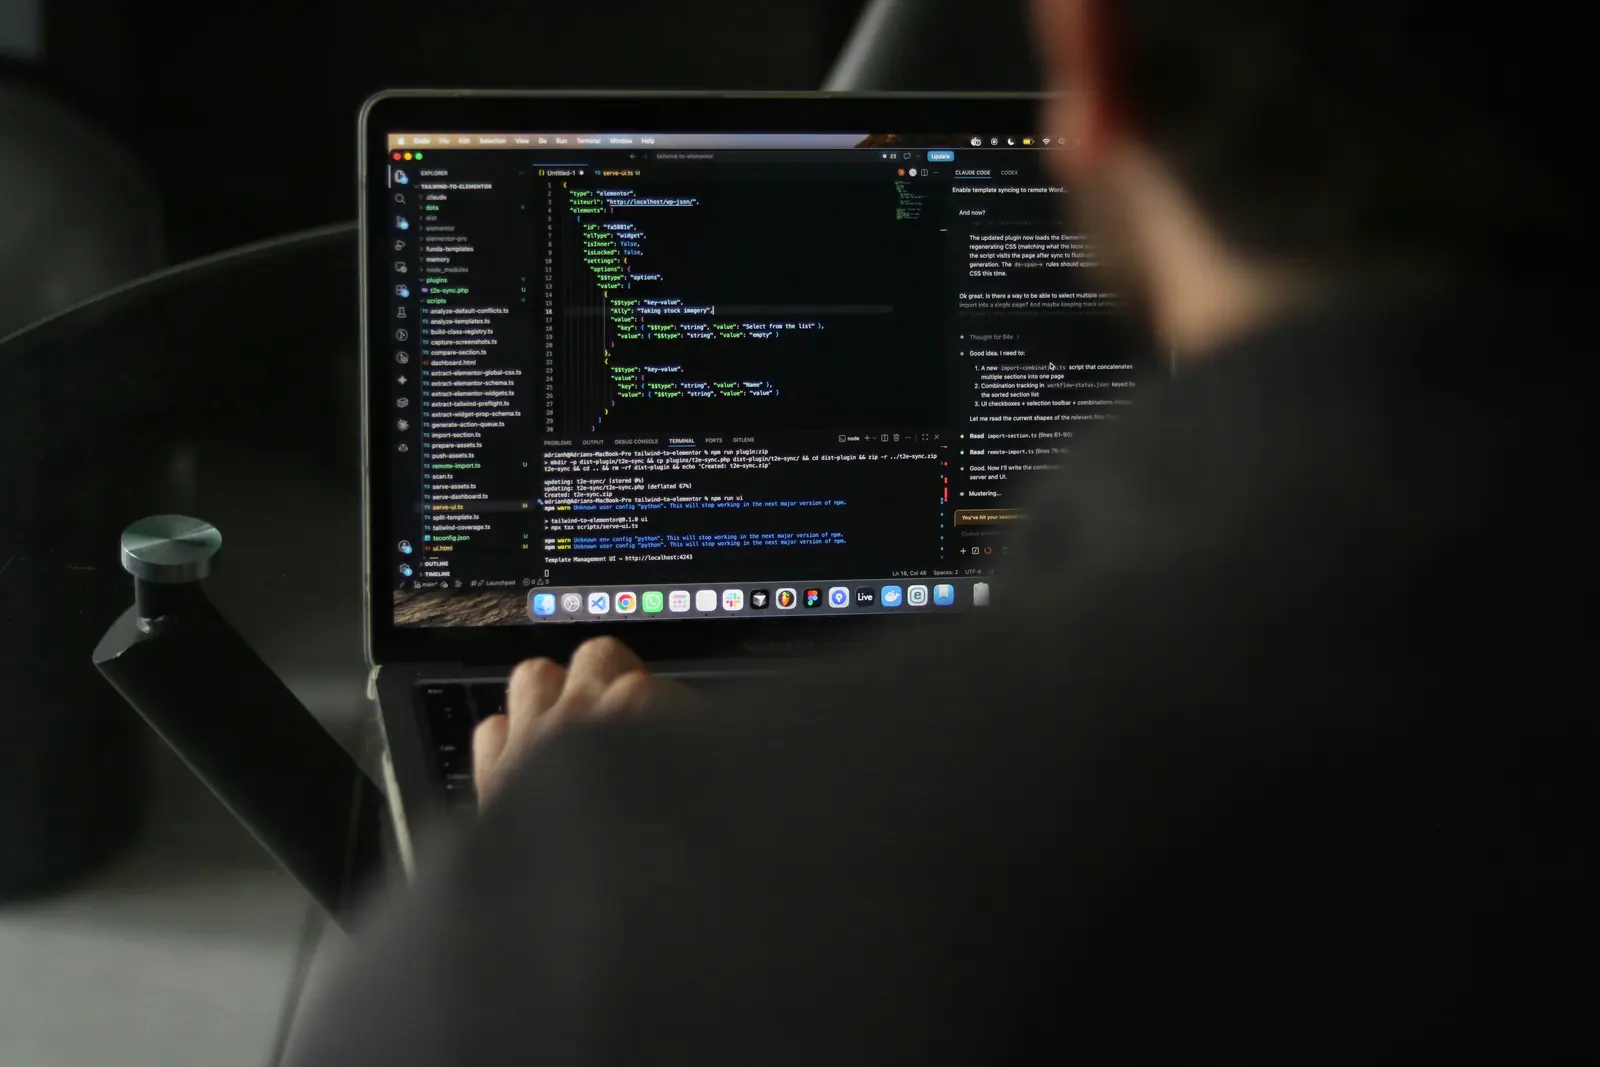
Step 2: Target the right window
Full-screen capture includes app switches, notifications, and other visible windows. That can distract from the work and expose private information.
Select the specific Figma, browser, or code editor window so the timelapse stays focused on the work.
If you're working across multiple apps (designing in Figma, then implementing in VS Code), consider running two separate capture sessions and sharing them individually. A focused 30-second Figma timelapse plus a 20-second VS Code timelapse is clearer than a single chaotic video switching between apps.
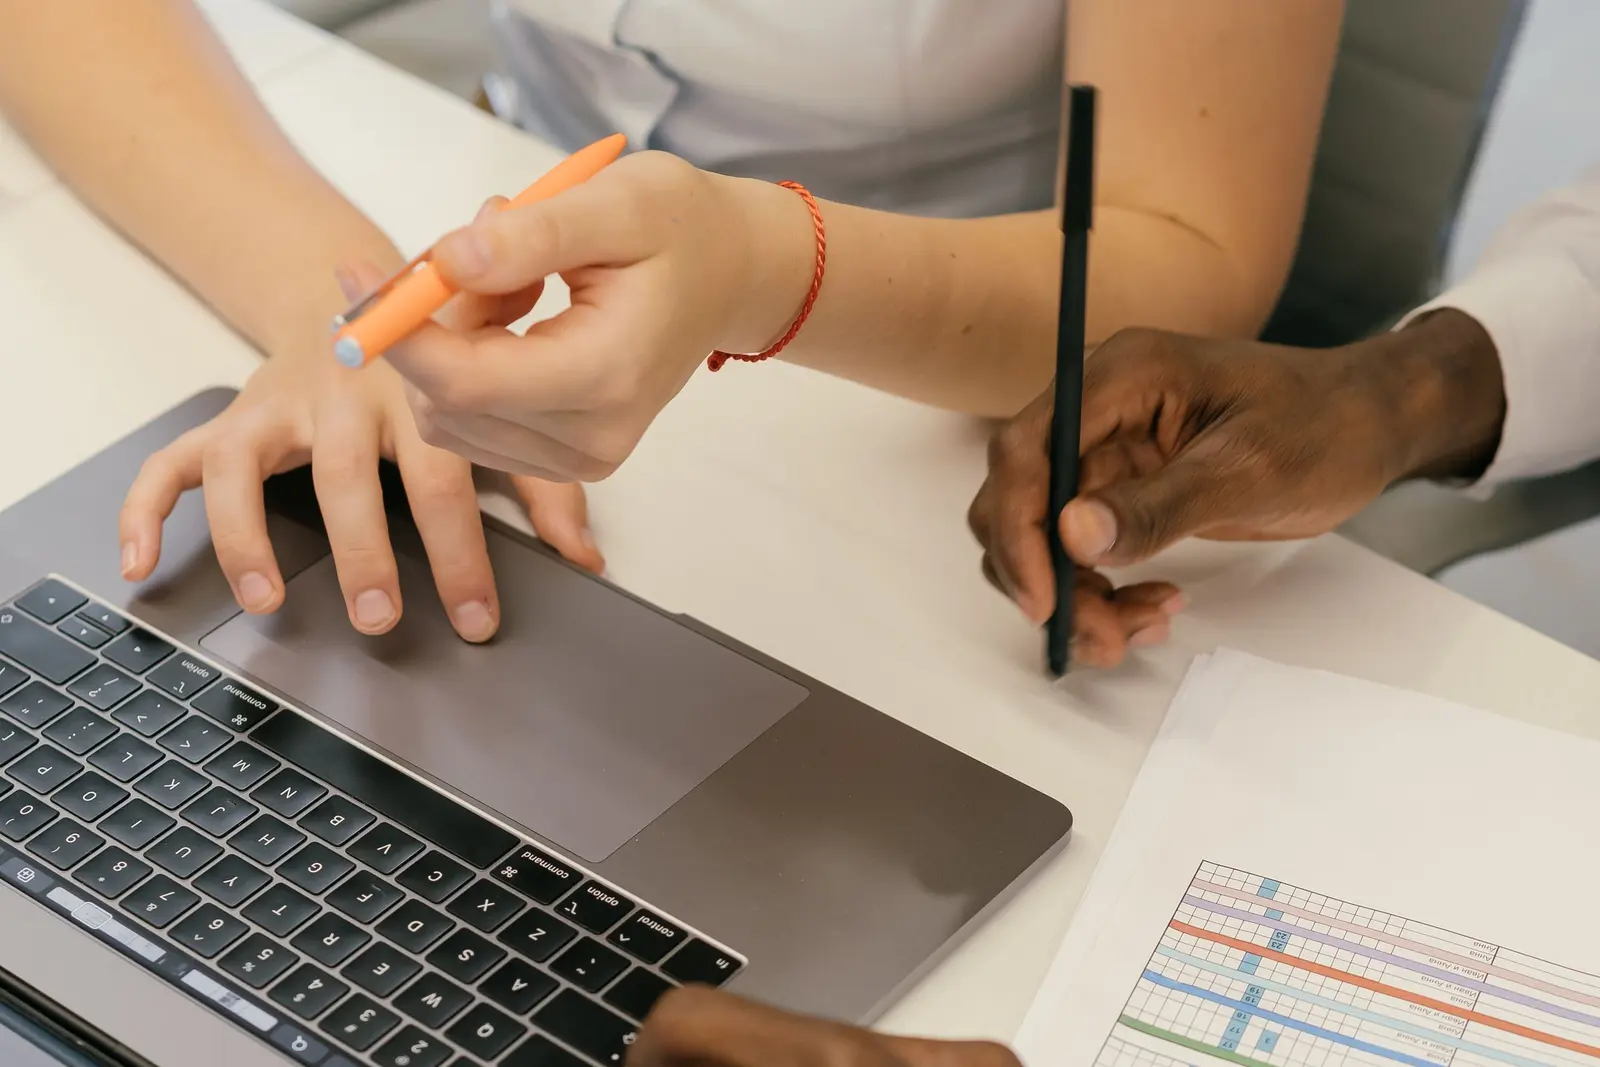
Step 3: Work normally
Start the capture and work normally. You do not need to narrate the session or stage each action for the camera.
Some tips for cleaner captures:
- Close notification panels before starting. Even with window capture, system alerts can overlay your target app.
- Use fullscreen or maximized windows. Consistent framing makes the timelapse easier to follow.
- Keep useful iterations. A discarded design or rewritten component can help the viewer understand how the work developed.
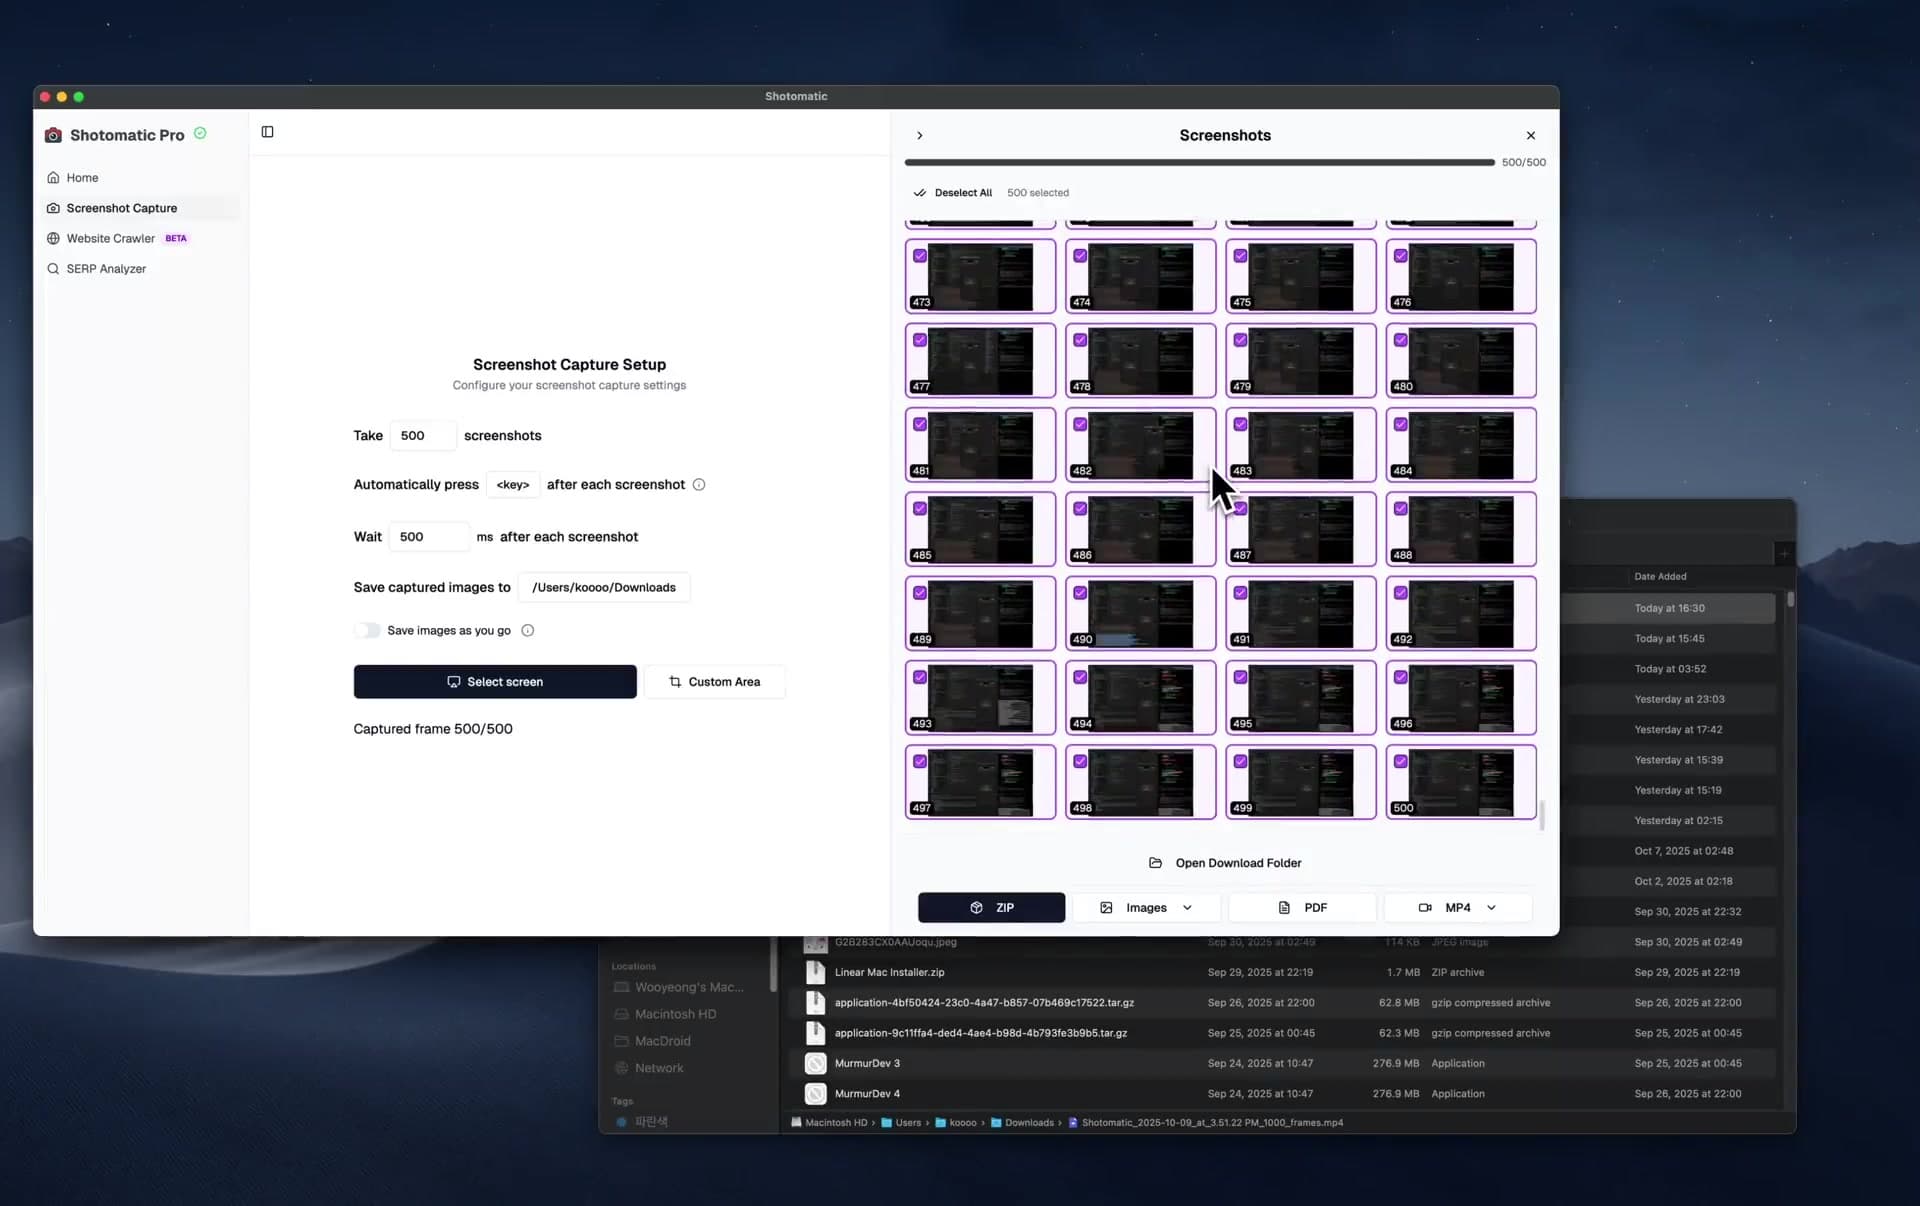
Step 4: Review before export
Before exporting, review the captured frames and remove anything you do not want to share:
- Slack messages or email notifications that appeared over your work
- Password prompts or login screens
- Browser tabs showing personal content
- Any frame where you switched to a different app accidentally
This is one of the biggest advantages over screen recording. With a recording, you'd need a video editor to cut these moments. With screenshots, you just deselect the frames you don't want.
Step 5: Export and share
Export the selected frames as MP4. Check the file size before attaching it to email or a chat tool; longer sessions and shorter capture intervals create more frames.
Where to share:
- Slack/Discord: Drag the MP4 into the channel and check the preview before posting.
- Email: Attach the file if it fits the provider's limit. Otherwise, upload it to a shared drive and send a link.
- Notion/Confluence: Upload as an embedded video in your project page.
- Loom/Google Drive: Upload and share a link if the file is too large for direct sharing.
- GitHub PR: Attach to the PR description. Reviewers see the visual evolution alongside the code diff.
Example async updates
Freelance web design
Capture the Figma window during a design session, remove frames that show other client work, and share the MP4 with a note such as "Hero section and pricing table iterations from today's session."
Remote engineering standup
Capture the browser or code editor while working on a visible UI change. In the standup channel, attach the result to a normal written update that covers decisions and blockers.
Client project milestone
Capture a few representative sessions during the sprint, then choose one for the milestone update. Let the video show the visual progress while the written update covers scope, decisions, blockers, and next steps.
Make the update easier to review
Add context with the share message
A timelapse without context is just a fast video. Always include a one-line summary when sharing:
- "Login flow redesign, four iterations over two hours"
- "Performance dashboard, including the chart options we tested"
- "Bug fix for #423, from the API response to the rendering layer"
Keep it short
A 30-60 second timelapse is ideal. Beyond 90 seconds, attention drops. If your session was very long, consider exporting only the most important segment rather than the entire session.
Be consistent
If you send a timelapse every Friday, your team or client starts expecting it. It becomes a rhythm: a low-effort way to maintain visibility and trust. Consistency matters more than polish.
Use GIF for micro-updates
For very short updates: a quick 5-second animation showing a UI interaction you built: GIF works well. It loops automatically in Slack and doesn't require the recipient to hit play. But for anything longer than about 10 seconds of playback, MP4 is better because GIF file sizes balloon quickly.
When not to use a timelapse
Timelapses are not a replacement for every communication method.
- Decisions that need discussion: Write a document or schedule a call. Timelapses show progress, not reasoning.
- Timing-sensitive bug reports: Use a specific screenshot or a short screen recording that preserves the exact sequence.
- Architecture discussions: Use text and diagrams for abstract concepts.
- Urgent blockers: Message the person directly instead of placing the blocker inside a video.
Timelapses are best for one thing: showing visual progress over time. Use them for that, and use other tools for everything else.
Related posts
See more postsHow to Create a Screen Timelapse on Mac (2026)
Create a screen timelapse on Mac with interval screenshots and MP4 export. Compare Shotomatic, a screencapture and FFmpeg script, and OBS.
How to Document QA Test Steps with Screenshots
Document QA test steps with prerequisites, expected results, pass or fail evidence, and a reviewable screenshot sequence.
How to Document a Bug with Step-by-Step Screenshots on Mac
Document a reproducible software bug on Mac with clear steps, screenshots, environment details, expected results, and useful evidence.
Six decisions that kept a small Electron i18n layer maintainable
A practical Electron i18n design for locale preferences, typed catalogs, fallback behavior, Intl formatting, and renderer-to-main sync.
Ready to automate your screenshots?
Archive books, capture content, and save hours of manual work.